We use affiliate links to run our site. When you buy through links on our site, we may earn an affiliate commission, without any added cost to you. Learn more
Growing peanuts at home can be a rewarding and unique gardening experience. Peanuts, also known as groundnuts, are not only delicious but also a great source of protein. In this comprehensive guide, we will walk you through the step-by-step process of growing peanuts in your garden.
This post will provide all the information you need to successfully cultivate this tasty legume.
Let’s dive in!
Choosing the Right Variety
Selecting the appropriate peanut variety is the first step in successful peanut cultivation. The most common types include:
- Virginia Peanuts: These are the largest peanuts with a slightly sweet flavor. They are perfect for roasting.
- Runner Peanuts: These peanuts are well-suited for making peanut butter due to their high oil content.
- Spanish Peanuts: Smaller in size and commonly used for peanut candies and snacks.
- Valencia Peanuts: These are ideal for boiling, as they have a naturally sweet taste.
Consider your intended use when choosing your peanut variety.
Climate and Growing Conditions
Peanuts thrive in warm and sunny climates. Here are some key factors to consider:
- Temperature: Peanuts require temperatures between 70°F to 90°F (21°C to 32°C) for optimal growth.
- Sunlight: Ensure your peanut plants receive at least 6-8 hours of direct sunlight daily.
- Soil: Well-draining, sandy loam soil with a pH of 5.8 to 6.2 is ideal for peanuts.
Preparing the Soil
Proper soil preparation is crucial for peanut cultivation. Here’s what you need to do:
- Soil Testing: Start by testing your soil’s pH and nutrient levels. Adjust the pH as needed to ensure it falls within the ideal range.
- Loosening the Soil: Use a tiller to loosen the soil to a depth of 6-8 inches.
- Adding Organic Matter: Incorporate well-rotted compost into the soil to improve its fertility.
Planting Peanuts
Now, let’s get those peanut seeds in the ground:
- Seed Selection: Choose high-quality peanut seeds from a reputable source.
- Planting Depth: Plant peanuts about 1-2 inches deep, with the pointed end facing down.
- Spacing: Space peanut seeds about 6-8 inches apart in rows, leaving 24 inches between rows.
- Watering: Water your peanut plants thoroughly after planting to help establish their roots.
- Mulching: Apply a layer of mulch to retain soil moisture and control weeds.
Caring for Your Peanuts
Peanuts require some care to thrive. Here are the essential steps:
- Regular Watering: Maintain consistent soil moisture throughout the growing season, but avoid waterlogged conditions.
- Fertilization: Apply a balanced fertilizer during the growing season to provide necessary nutrients.
- Hilling: When the peanut plants are about 6 inches tall, gently mound soil around the base of the plants to encourage peg formation.
- Weed Control: Keep the area around your peanut plants free of weeds to prevent competition for nutrients.
- Pest and Disease Monitoring: Regularly inspect your plants for signs of pests or diseases and take appropriate action if needed.
Pest and Disease Management
To keep your peanut crop healthy, be vigilant about potential issues. Common pests and diseases that affect peanuts include:
- Aphids: Use neem oil or insecticidal soap to control aphids.
- Leaf Spot: Apply a copper-based fungicide to manage leaf spot.
- Nematodes: Rotate crops and practice good soil management to reduce nematode infestations.
- White Mold: Keep the area around your peanut plants dry to prevent white mold.
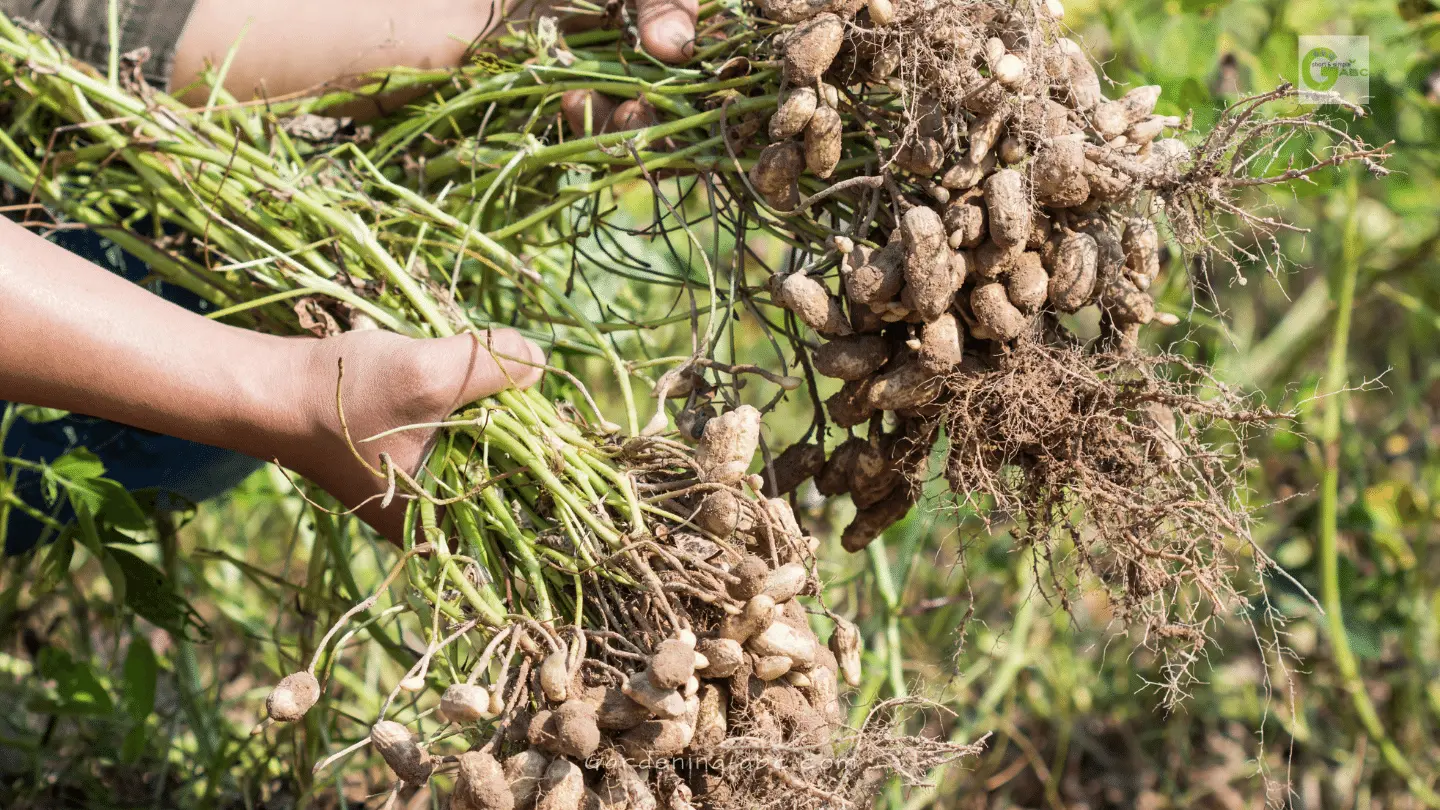
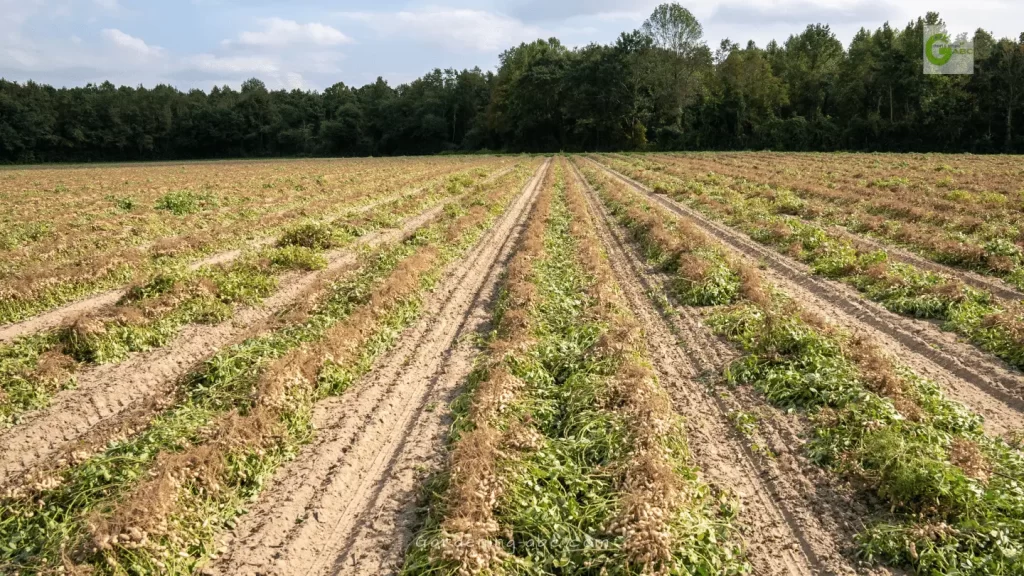
Harvesting and Storage
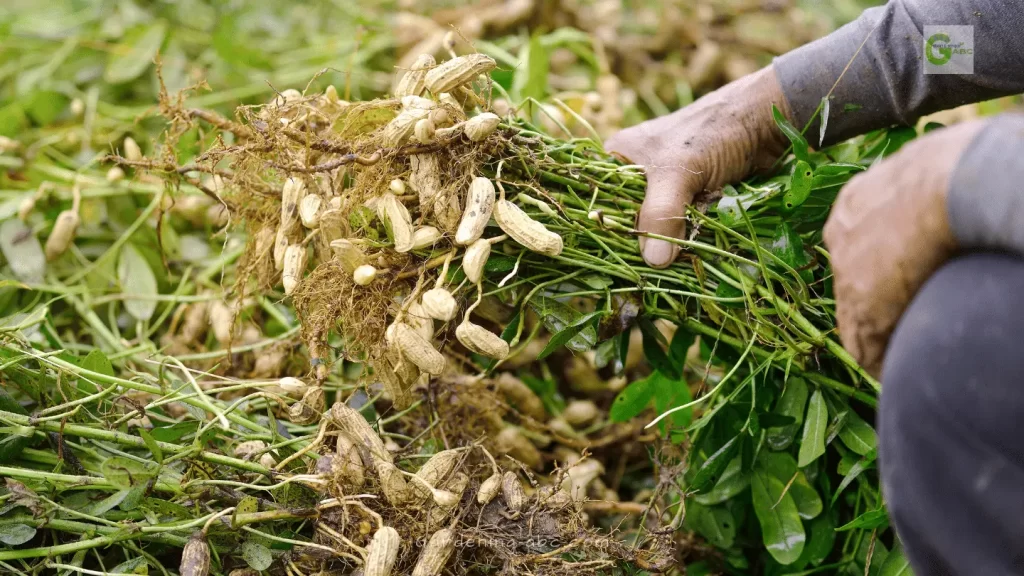
Harvesting peanuts is the most satisfying part of the process. Here’s how to do it:
- Timing: Harvest peanuts when the leaves start to yellow and wither, typically about 120 to 140 days after planting.
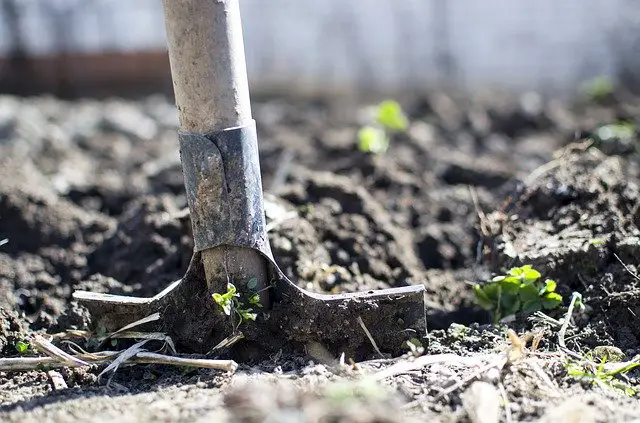
- Digging: Gently loosen the soil around the plants with a spade or fork and carefully lift the peanuts.
- Curing: Allow the harvested peanuts to dry in a warm, dry place for a week. After drying, you can remove the shells.
- Storage: Store your peanuts in a cool, dry place in mesh bags or baskets. They can be kept for several months.
Final Thoughts:
Growing peanuts at home can be a fun and rewarding experience. With the right variety selection, proper care, and attention to climate and soil conditions, you can enjoy a bountiful harvest of delicious, homegrown peanuts.
Remember, gardening is not only about growing peanuts but also about creating a thriving and harmonious garden ecosystem. Consider exploring other plants, such as radish, ginger, cabbage, and strawberry, to diversify your garden.
If you have any questions or need further information on gardening, soil types, or pest management, feel free to explore our blog’s other categories such as compost, soil, and fertilizer. You can also explore different gardening styles like aquaponic gardening, container gardening, vertical gardening, and more.
Happy gardening, and may your peanut plants yield a delightful harvest!
Amazon and the Amazon logo are trademarks of Amazon.com, Inc, or its affiliates.

Gardener with 12+ years of hands-on experience growing vegetables and fruits in home gardens. Learned through trial, error, and observation — not textbooks. Shares what actually works (and what doesn’t) in real-world conditions. No fluff, no hype — just practical tips from the soil up.