We use affiliate links to run our site. When you buy through links on our site, we may earn an affiliate commission, without any added cost to you. Learn more
Transplanting seedlings doesn’t have to be scary – with a little know-how and the right approach, it can actually be super fun and rewarding.
In this article, we’ll give you the inside scoop on transplanting seedlings like a pro, with step-by-step instructions and all the tips you need to make your little sprouts thrive.
From timing your transplant just right to preparing the soil, and caring for your seedlings afterward – we’ve got you covered.
So are you ready to take your gardening game to the next level? Grab your gloves and let’s get started!
What is Transplanting?
Transplanting means growing seedlings in some specialized environment or container and then transferring them to their final place. It is different from direct seeding methods where seeds are directly sown in their final place.
Why Transplanting Seedlings?
If you are starting plants directly from seeds, transplanting can offer you a lot of flexibility in planning and growing crops. Let’s look at some of them:
- The initial few days are very crucial for any plant. In transplanting you can control its environment to the fullest. You can adjust its optimum temperature, humidity water requirements, etc. That is very difficult if you plant the seeds directly in the ground soil.
- You can provide the best nutrition possible to the seedlings. A good quality potting mix can make sure you get the best possible survival rates in the initial days.
- It is easy to protect your plants from the harsh environment outside. Not only you can protect the plants from wind, heat, and rain, but you can also give protection against birds, snails, and other pests.
- You can extend the growing seasons for the plants when you grow seedlings indoors. By controlling soil temperature you can grow many plants that are otherwise impossible to grow.
- A transplant has a better chance of competing against the weeds than directly sown plants.
- Lesser wastage of water. So much more environment-friendly.
- Growing seedlings indoors results in better germination rates. So you can save your cost of seeds. It would be beneficial in the longer run, particularly if you have some exotic variety.
Transplanting Seedlings to Pot:
Like a mature plant, seedlings also need space to grow. So after 2-3 weeks of their germination, you have to transfer them into larger containers. Now, it is not always possible to move them right into the ground.
But if you have other plans such as growing them in pots, or maybe the weather is still not suitable for the seedling to grow outside you might need to transfer them to larger pots.
Once the seedlings have their first set of true leaves it is time to transplant them into larger pots.
If you are too much concerned about damaging the roots, use a biodegradable pot like a coir pot or peat pot. You can place the pot directly into the ground without disturbing the roots.
When to Transplant Seedlings:
The time of transplanting seedlings depends mostly on your locality. Check out the local frosting date so you can transplant accordingly. Always transplant your seedlings after the last frost, unless it is a cool-weather crop.
For example, if you have tender seedlings like tomatoes or peppers, It would be best to wait until nighttime temperatures are above 10°C 50°F before even contemplating transplants outdoors.
How To Transplant Seedlings?
Hardening Off Transplants:
Before you transplant your seedling to the garden you have to do what we call hardening off seedlings. Here the plant makes some much-needed adjustments to suit the harsh outside environment.
When they are exposed to increased airflow or a fluctuation in temperature the plant cells make the necessary adjustment to cope with the situation. It may be in the form of a thick stem or a stronger root system. This process is called the hardening of the transplants.
5 Simple Steps in Transplanting Seedlings:
In case you have chosen to transplant and not start from seeds, the following steps will help you.
Step 1: Make a hole in the ground
It’s time to lay the foundation for your seedling’s new home! But before you break out the shovel, let’s find the perfect spot.
Look for a place with rich soil and the right amount of sun exposure for your plant. Some plants love soaking up the rays, while others prefer a more modest dose.
Once you’ve picked the perfect spot, grab your trowel or mini-shovel and get to digging! Make sure the hole is big enough to comfortably fit the entire root system of your seedling.
Use its container as a reference and dig a hole that’s slightly wider. Ensure it’s deep enough so your seedling will be planted at the same depth it was in its previous home.
Step 2: Hydrate the seedlings before transplanting:
Before you transplant your little sprout, it’s crucial to give it a good soak. This will help to ensure that the plant has enough hydration to last until it can start drawing water from the soil in its new environment.
Think of it as filling up a car before a road trip – you want to make sure you have enough gas to last until the next stop! Similarly, you want to give your seedling a good drink before planting it so it has enough hydration to last until it can start drawing water from its new home.
So, take a few moments to give your seedling a good soak and set it up for success in its new environment. Your plant will thank you for it!
Step 3: Release The Roots:
Now it’s time to take your seedling out of its container and prepare it for transplanting. To make this process as easy as possible, simply hold onto the stem of the plant and turn the pot upside down.
Gravity will do the rest of the work for you – the soil and roots will naturally fall out of the container, making it easy to separate the seedling from its old home.
So, grab hold of that stem and flip that pot upside down – your seedling will be on its way to its new home in no time!
Step 4: Plant the Seedling
It’s finally time to plant your seedling in its new home! Take the root ball from the container and place it gently in the hole you dug earlier.
One important thing to remember is to plant the seedling at the same depth it was in the container. This ensures that the roots have plenty of room to grow and the top of the root ball is level with the surface of the soil.
So, go ahead and plant that seedling, making sure it’s snug and secure in its new home.
Try to transplant in an overcast weather condition. It will give the plant a better chance to adjust to its new home without being withered by direct sunlight.
Step 5: Cover with Garden Soil
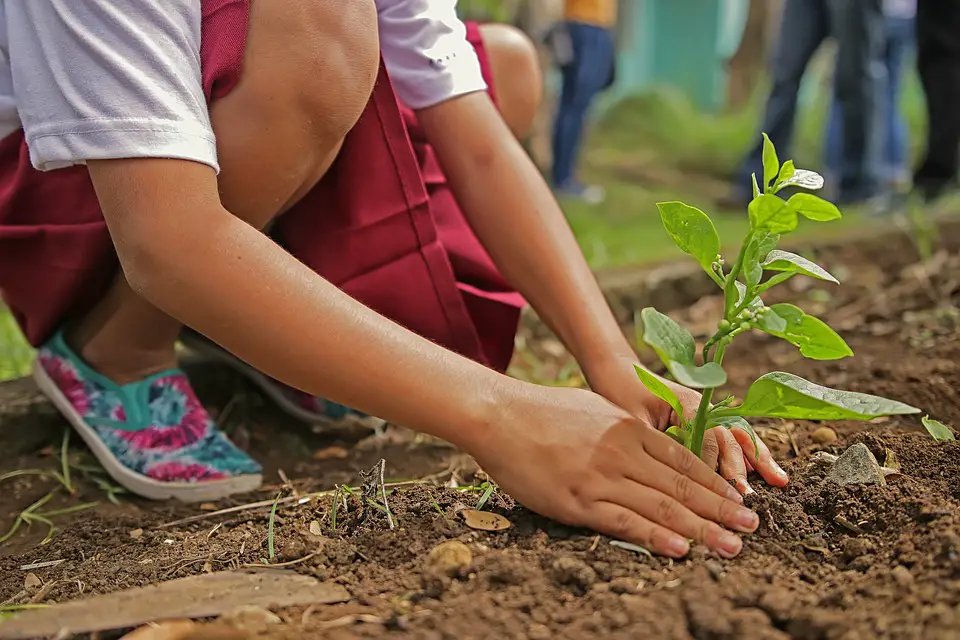
Finally, it’s time to give your seedling its final touch of love! Cover the hole with soil and gently press down to secure the roots in place.
Make sure the soil stays moist so your little plant has the best chance to thrive in its new home. Keep an eye on it, and give it a little extra love if needed, until you see it start to grow and flourish!
Try to transplant in an overcast weather condition. It will give the plant a better chance to adjust to its new home without being withered by direct sunlight.
Conclusion:
So there you have it folks, the simple steps to transplanting seedlings with ease! We hope this guide has given you the confidence and motivation to give transplanting a try.
With the right preparation and technique, you’ll be well on your way to a thriving garden in no time. And if you’re feeling unmotivated about your gardening journey, transplanting can be the breath of fresh air your plants (and you) need.
So, don’t be shy, give it a go, and let us know how it goes!
Now, before you head off to start your transplanting adventure, don’t forget to share this post with your fellow gardening enthusiasts. Trust us, they’ll thank you for the helpful tips and tricks.
And, while you’re at it, be sure to explore our site for more gardening goodness. Who knows, you might just stumble upon your next big gardening project!

Amazon and the Amazon logo are trademarks of Amazon.com, Inc, or its affiliates.

Hi there! My name is Prasenjit and I’m an avid gardener and someone who has grown a passion for growing plants. From my hands-on experience, I have learned what works and what doesn’t. Here I share everything I have learned.

Sweet blog! I found it while searching on Yahoo News. Do you have any tips on how to get listed in Yahoo News? I’ve been trying for a while but I never seem to get there! Thanks
This guy has something very important to say!