We use affiliate links to run our site. When you buy through links on our site, we may earn an affiliate commission, without any added cost to you. Learn more
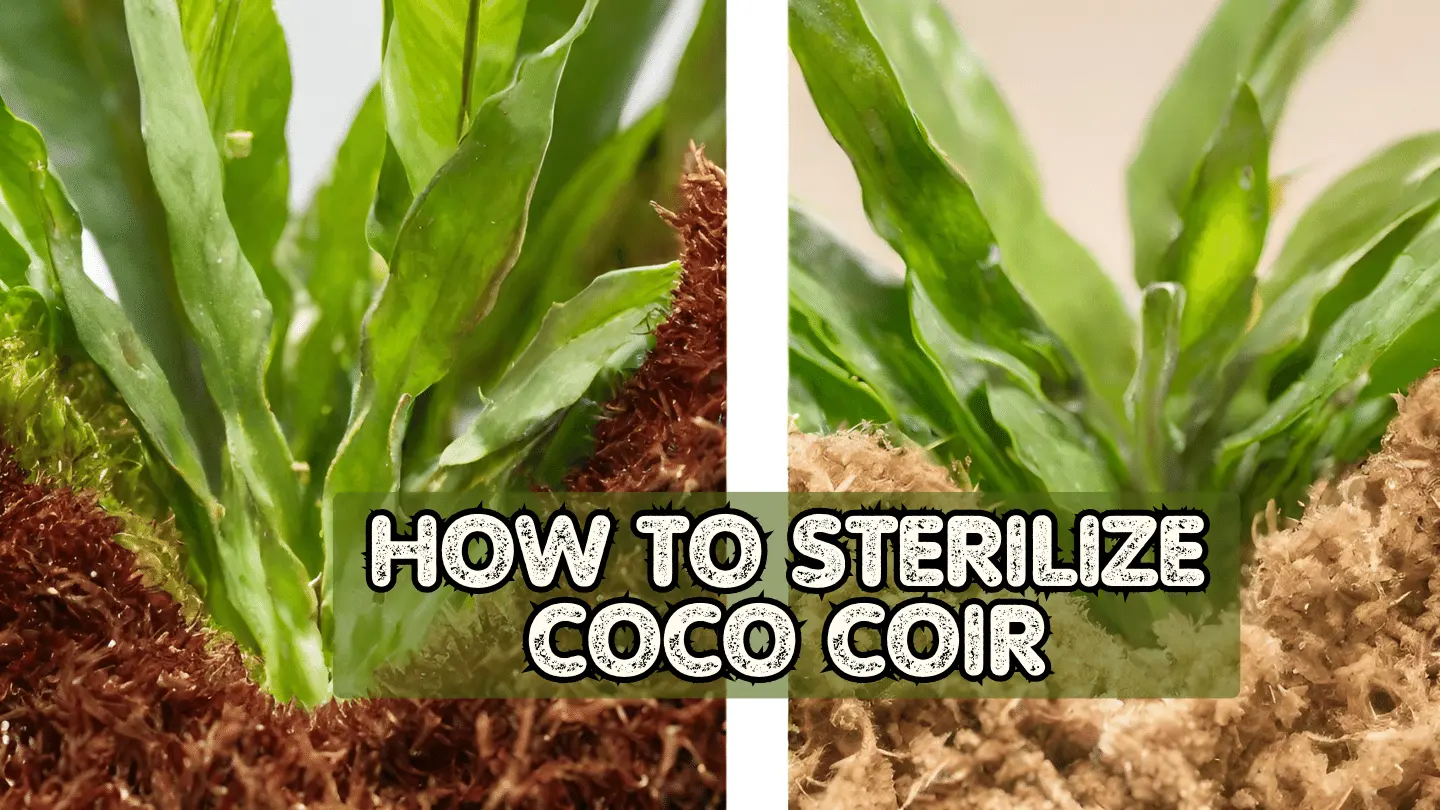
Coco coir, the wonder material made from coconut husks, has taken the gardening world by storm. It’s lightweight, airy, and holds moisture like a champ, making it a go-to choice for both indoor and outdoor planting. But just like any growing medium, coco coir can harbor unwanted guests—disease-causing microorganisms that can wreak havoc on your precious plants.
That’s where sterilization comes in. Think of it as giving your coco coir a clean slate, wiping away any lingering nasties, and setting the stage for healthy, thriving plants. Whether you’re a seasoned gardener or a newbie with a trowel in hand, knowing how to sterilize coco coir is crucial for long-term success.
In this post, we’ll delve into the nitty-gritty of coco coir sterilization, exploring both chemical and heat methods. We’ll compare their pros and cons, offer step-by-step instructions, and address essential safety considerations. So, get ready to give your coco coir the fresh start it deserves!
By the end of this post, you’ll be able to:
- Understand the importance of sterilizing coco coir
- Choose the best sterilization method for your needs
- Safely and effectively sterilize your coco coir
- Enjoy the peace of mind that comes from knowing your plants are growing in a healthy environment
So, let’s get started!
Why Sterilize Coco Coir?
Here’s why sterilizing your coco coir is a crucial step for any gardener:
1. Preventing the Spread of Disease:
Over time, coco coir, especially after growing a previous crop, can become home to viruses, bacteria, and fungi. These microscopic nasties can hitch a ride onto your new seedlings, causing stunted growth, wilting, or even death. Sterilization effectively removes these pathogens, creating a clean slate for your fresh planting endeavors.
2. Protecting Seedling Health:
New seedlings are particularly vulnerable to disease. Their delicate immune systems don’t stand a chance against established pathogens lurking in the coir. Sterilization eliminates these threats, giving your little plant babies the best shot at healthy growth and thriving into lush maturity.
3. Maximizing Your Investment:
Coco coir is a sustainable, reusable growing medium. Sterilization allows you to keep using it for multiple crop cycles, saving you money and reducing waste. Think of it as an investment in your garden’s future – a little effort now translates to bountiful harvests and beautiful greenery down the line.
4. Peace of Mind:
Knowing your plants are growing in a sterile environment offers peace of mind. You can focus your energy on nurturing and enjoying your little green friends, without worrying about hidden enemies lurking in the soil.
Sterilization might seem like an extra step, but it’s a small price to pay for happy, healthy plants. This way, you are providing your garden with the best possible foundation for success.
Coco Coir Sterilization Methods
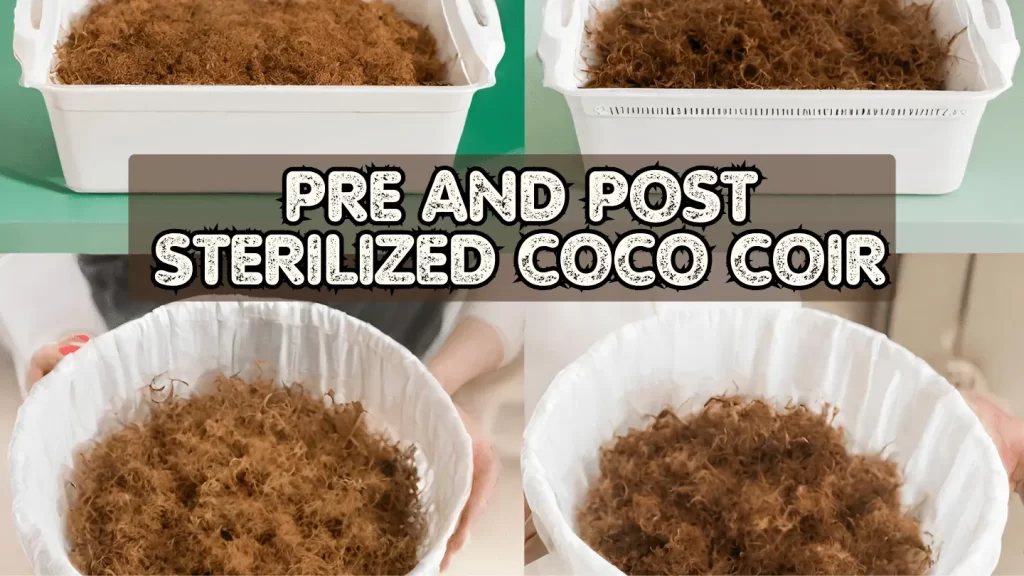
Now, let’s delve into the nitty-gritty of coco coir sterilization, exploring both chemical and heat methods to pave the way for thriving gardens. Remember, a clean slate means happy plants!
I. Chemical Sterilization Methods:
1. Bleach:
- Instructions: For a gallon of water, mix 4 teaspoons of bleach. Submerge your coco coir for at least 30 minutes, thoroughly stirring to ensure even exposure. Rinse the coir repeatedly with clean water until no bleach scent remains.
- Safety First: Wear good-quality gloves and work in a well-ventilated area. Bleach fumes can be harmful, so avoid inhaling them.
- Drawbacks: Bleach can harm the environment if disposed of improperly. Consider diluting and pouring onto soil or flushing with plenty of water. Bleach can also kill beneficial microbes.
2. Hydrogen Peroxide:
- Instructions: Mix 35% hydrogen peroxide with water at a 2:1 ratio. Soak your coco coir for at least 4 hours, followed by thorough rinsing.
- Comparison: Hydrogen peroxide is generally safer than bleach and decomposes into water and oxygen, making it less harmful to the environment. However, it might be less effective against certain pathogens.
3. Quaternary Ammonium Salts:
- What are they? These specialized disinfectants, found in household cleaners, fight microbes through cell membrane disruption.
- How to use: Follow the product label instructions carefully for safe and effective sterilization.
II. Heat Sterilization Methods:
1. Oven:
- Instructions: Preheat your oven to 180°F (82°C). Place moistened coco coir in oven-safe containers and heat for 30 minutes. Let cool completely before using.
- Safety Tip: Use containers suitable for high temperatures. Allow the coco coir to cool thoroughly before handling.
2. Microwave:
- Instructions: Moisten your coco coir lightly and microwave in short bursts (3-5 minutes) until a steaming temperature is reached. Let cool completely before using.
- Warning: Overheating can cause fire. Use caution and monitor the coco coir closely. Small amounts are recommended for this method.
3. Sun:
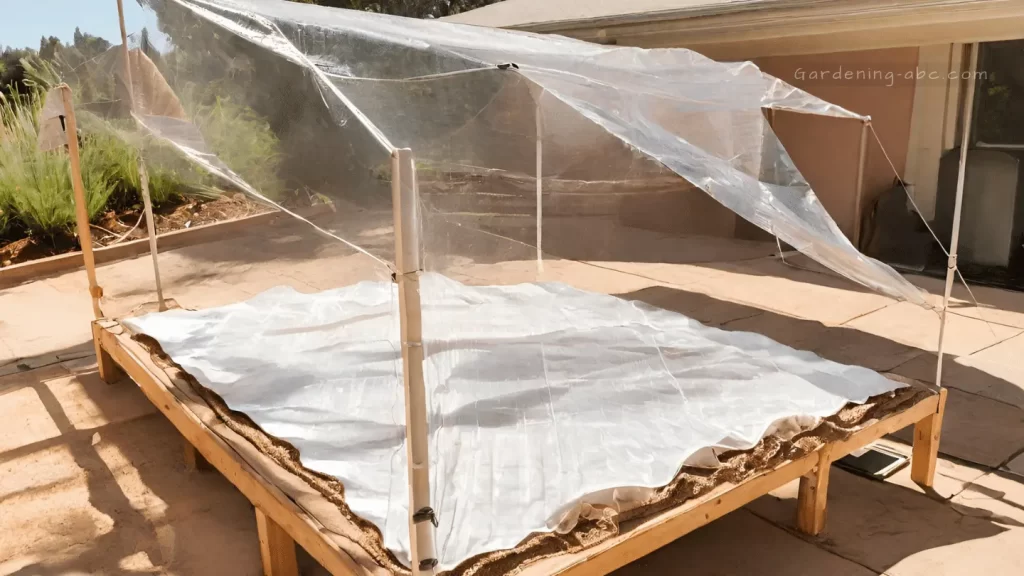
- Solar Heating: Cover moistened coco coir with a clear tarp on a hot, sunny day. Ensure the temperature reaches and maintains 150°F (65°C) for at least 30 minutes.
- Monitoring is key: Track the temperature with a thermometer and adjust tarp position as needed.
Sterilization Methods in A Nutshell:
Here’s a comparison table to help you decide:
| Method | Pros | Cons |
|---|---|---|
| Bleach | – Effective against a wide range of pathogens | – Harsh chemical, harmful to people and the environment |
| Hydrogen Peroxide | – Safer than bleach, decomposes into water and oxygen | – May be less effective against certain pathogens |
| Quaternary Ammonium Salts | – Convenient, readily available in household cleaners | – Effectiveness varies depending on product |
| Oven | – Efficient and thorough | – Requires oven-safe containers and proper cooling |
| Microwave | – Quick and convenient for small amounts | – High fire risk, requires close monitoring |
| Sun | – Eco-friendly, free, and readily available | – Requires a hot, sunny day and prolonged exposure |
Sterilization Considerations:
- Safety First: Regardless of the method, always wear gloves and ensure proper ventilation.
- Responsible Disposal: Don’t pour chemical solutions down drains. Dilute and dispose of them according to local regulations.
- Beneficial Microbes: Heat methods can kill both harmful and beneficial microorganisms. Consider adding compost or beneficial bacteria to restore the microbial balance.
- Nutrient Replenishment: Reused coco coir might lack nutrients. Adding compost, worm castings, or fertilizers tailored for hydroponics can be beneficial.
Help other plant parents out! Share this guide on sterilizing coco coir to keep their gardens thriving. Hit that share button and let’s grow together!
Final Thoughts:
Congratulations! You’ve reached the end of your coco coir sterilization journey. Armed with this knowledge, you can confidently ensure a healthy, thriving environment for your plants while making the most of your sustainable, reusable growing medium.
Remember, the method you choose will depend on your individual needs and preferences. Consider factors like cost, convenience, safety, and environmental impact when making your decision.
Whichever method you choose, be sure to:
- Follow the instructions carefully, paying close attention to safety precautions.
- Rinse the coir thoroughly after sterilization to remove any residual chemicals or heat.
- Monitor your plants closely after planting for any signs of stress or disease.
- Consider adding fresh nutrients to your reused coir for optimal plant growth.
With a little planning and effort, sterilizing your coco coir can become a routine part of your gardening practice, setting the stage for bountiful harvests and vibrant greenery. So, get out there, embrace the joy of gardening, and watch your plants flourish in their clean, pathogen-free coco coir haven!
Mastered sterilization? Dive deeper into the world of coco coir with our blog! Explore tips on choosing the right coir, maximizing yields, and creating stunning hydroponic setups.
Frequently Asked Questions (FAQs):
How often should I sterilize my coco coir?
If you plan to reuse your coco coir, ideally sterilize it after each growing season. This helps prevent the buildup of harmful microorganisms that could harm your next batch of plants.
Can I sterilize dry coco coir?
No, it’s best to moisten the coco coir slightly before using any sterilization method. This ensures all parts of the coir are exposed to the sterilizing agent, whether chemical or heat.
What should I do with the used chemical solution after sterilization?
Never directly pour down the drain! Dilute the solution with plenty of water and pour it onto soil or dispose of it according to local regulations.
Can I skip adding nutrients to reused coco coir?
While coco coir retains some nutrients, it’s best to add a bit extra for optimal plant growth. Consider compost, worm castings, or fertilizers specifically formulated for hydroponics.
I don’t have a lot of time. Which is the fastest sterilization method?
Microwaving small amounts of coir is the quickest option, but use caution and monitor closely to avoid fire risk. For larger quantities, oven sterilization offers a good balance of speed and effectiveness.
Is there a natural alternative to chemical sterilization?
Solar heating offers an eco-friendly option, but it requires a hot, sunny day and continuous temperature monitoring for at least 30 minutes.
What happens to the beneficial microbes in coco coir during sterilization?
Unfortunately, most sterilization methods, including heat, can kill both harmful and beneficial microbes. Consider adding beneficial bacteria or compost teas to reintroduce helpful microbes afterwards.
8. Where can I learn more about using coco coir?
Check out our other articles on oursite. We have guides on choosing the right type of coir, using it in hydroponics systems, and even creative landscaping applications.
Amazon and the Amazon logo are trademarks of Amazon.com, Inc, or its affiliates.

Gardener with 12+ years of hands-on experience growing vegetables and fruits in home gardens. Learned through trial, error, and observation — not textbooks. Shares what actually works (and what doesn’t) in real-world conditions. No fluff, no hype — just practical tips from the soil up.