We use affiliate links to run our site. When you buy through links on our site, we may earn an affiliate commission, without any added cost to you. Learn more
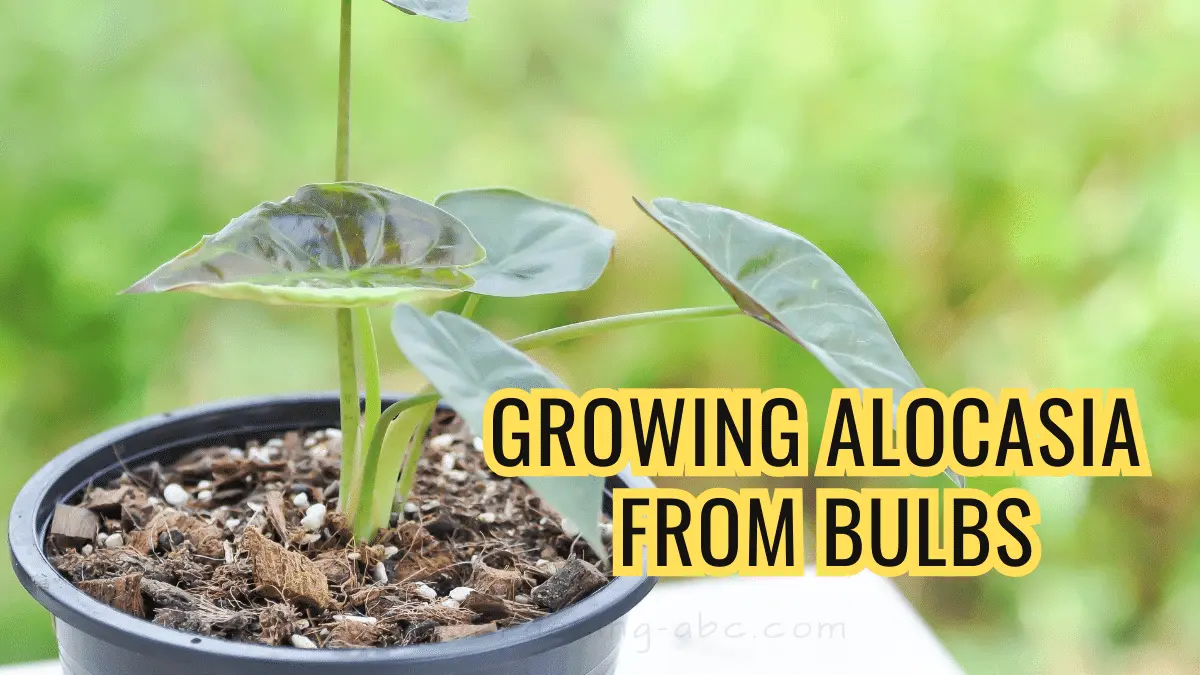
Growing beautiful Alocasia plants from bulbs is a rewarding way to add these tropical-looking beauties to your home or garden. Alocasias, also known as elephant ears, boast large, heart-shaped leaves on long, upright stems. The lush foliage comes in varied colors like deep green, blue-green, silver, and purple.
While you can find Alocasia plants at nurseries, propagating them yourself from bulbs allows you to expand your collection inexpensively. With a little time and patience, the bulbs will sprout into gorgeous, full plants.
Follow this simple, step-by-step guide to successfully grow Alocasia from bulbs.
Elephant Ears Propagation in 3 Simple Ways: A Quick Guide
Gathering Materials
Before planting, you’ll need to gather a few materials:
- Alocasia bulbs – Look for plump, firm bulbs that are free from mold, mushiness, or rot. The attached roots are a good sign.
- Potting mix – Use a well-draining potting soil or a cactus/succulent mix.
- Small gravel or rocks – For extra drainage in the pot bottom.
- Plastic greenhouse dome or glass cloche – To maintain humidity around the bulbs.
- Spray bottle – For misting the bulbs.
- Bright, filtered light – Alocasia prefers indirect sunlight.
- Small pot with drainage holes – To plant each bulb separately.
Step 1: Prepare the Potting Mix
Start by filling your pot with the potting mix, leaving 2 inches from the rim. Mix in a handful of small rocks or gravel. This boosts drainage to prevent wet soil from causing bulb rot.
Press down lightly on the mix to make an even surface.

Step 2: Plant the Bulb
Place the Alocasia bulb in the pot, root-side down. Position upright, with the top 20-30% sticking out above the soil line.
The upper part of the bulb needs air exposure to grow. But the bottom needs soil contact for the roots to anchor and expand.
Step 3: Cover the Bulb
Water the potting mix well until it’s moist but not soaked.
Then place the plastic greenhouse dome or glass cloche over the pot. This creates humidity, which the bulb needs to sprout.
Step 4: Provide Gentle Light
Put the pot with the covered bulb in a warm spot with bright, filtered light.
An east or west-facing window is ideal. Avoid direct hot sunlight, which can damage the tender new growth.
Step 5: Maintain Moisture
Check the soil moisture every few days. Water cautiously when the top inch feels dry.
Use a spray bottle to mist the bulb and soil instead of pouring water over it. Too much moisture invites diseases.
Step 6: Watch for Growth
Be patient! It can take up to 3 months for the bulb to sprout.
First, you’ll see little white nubs emerging from the bulb. These grow into roots. Soon, leaves will unfurl.
Step 7: Acclimate the Seedling
Once the seedling is 3-4 inches tall, start exposing it to less humidity.
Remove the greenhouse cover for a few hours at a time over several weeks. This hardens off the plant.
Step 8: Transplant Mature Plants
When growth fills the pot, it’s time to transplant into a larger one.
Use fresh, well-draining potting mix. Established Alocasias also enjoy partial shade outdoors.
Troubleshooting Issues
Growing Alocasia from bulbs is mostly smooth sailing. But here are some potential issues and solutions:
| Problem | Solution |
|---|---|
| Soft, moldy bulbs that rot quickly. | The bulbs may have been damaged or diseased. Start over with fresh, healthy bulbs. |
| Bulbs not sprouting for many months. | Ensure the bulbs get gentle warmth and high humidity. Discard bulbs that still don’t grow. |
| Tiny black spots on leaves. | This could be a fungus. Improve air circulation and cut back on moisture. |
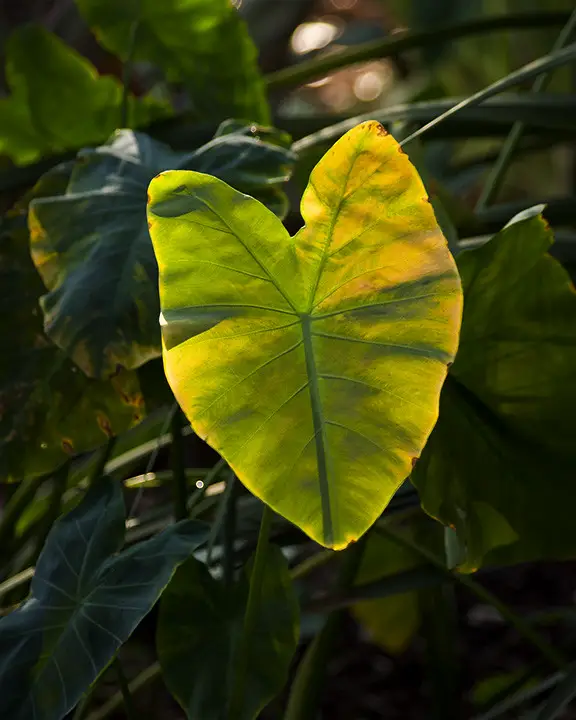
| Curled, yellowing leaves. | Plants may be getting too much light. Move them to a shadier spot. |
Caring for Mature Alocasia Plants
With the right care, your Alocasia grown from a bulb will mature into a stunning houseplant or garden focal point:
- Water thoroughly when the top several inches of soil become dry. Avoid getting water on the leaves.
- Mist leaves occasionally to boost humidity.
- Fertilize monthly in spring and summer with balanced, diluted liquid fertilizer.
- Repot when rootbound into bigger pots with drainage holes.
- Prune back any mushy, damaged, or dead leaves and stems.
- Keep leaves dust-free by wiping gently with a damp cloth.
- Rotate the plant periodically so all sides get light exposure.
- Protect from frost and temperatures below 50°F.
You can also read the full article about How to Grow Elephant Ears. Easy Guide on Planting and Care for more information.
The Rewards of Growing Alocasia
Growing Alocasia from bulbs and nurturing the plants is incredibly satisfying. As they flourish, you’ll enjoy:
- Lush, eye-catching elephant ear leaves in vibrant colors.
- Tropical flair that enhances any indoor or outdoor space.
- Increased greenery to purify your living area.
- New bulbs form as the plants mature, for endless propagation.
- An easy, inexpensive way to expand your plant collection.
- A fun gardening project that builds your horticulture skills.
Conclusion:
Now you’re ready and empowered to grow beautiful Alocasias from humble bulbs! Remember to start with quality bulbs, provide the right growing conditions, and exercise patience as the plants establish.
Be sure to share this guide with other plant-loving friends. For more indoor gardening tips, explore the propagation and houseplant care articles on our site.
Most importantly, get your hands dirty – grab some bulbs and put your new skills to the test. The joy of nurturing your own Alocasia plants from start to finish awaits!
Amazon and the Amazon logo are trademarks of Amazon.com, Inc, or its affiliates.

Gardener with 12+ years of hands-on experience growing vegetables and fruits in home gardens. Learned through trial, error, and observation — not textbooks. Shares what actually works (and what doesn’t) in real-world conditions. No fluff, no hype — just practical tips from the soil up.