We use affiliate links to run our site. When you buy through links on our site, we may earn an affiliate commission, without any added cost to you. Learn more
Are you a beginner who wants to grow orchids but feels intimidated by their delicate appearance? Don’t worry, you’re not alone!
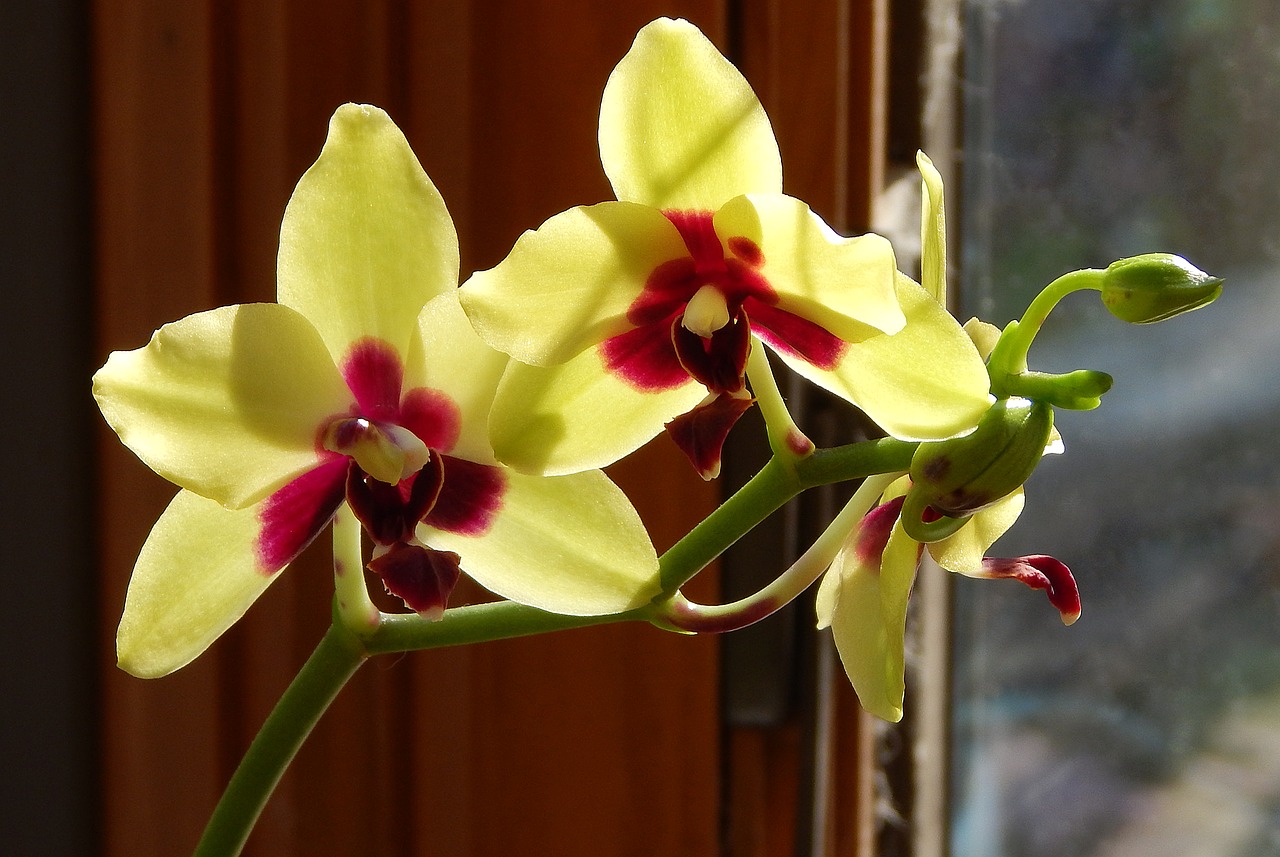
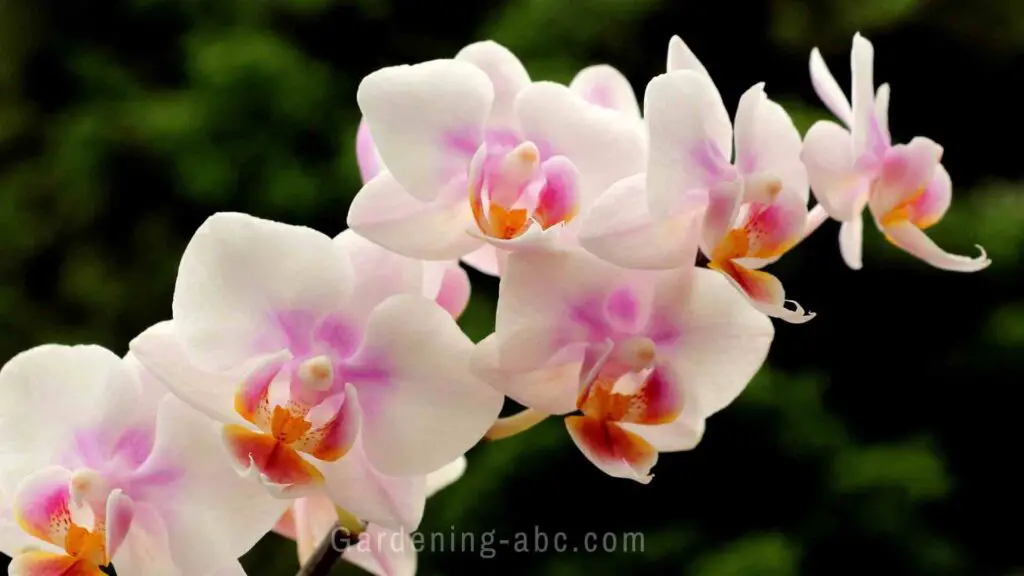
Orchids may look fragile, but they’re actually tough little plants that are easy to care for. With glossy green foliage and intricate flowers in a range of colors, orchids are a beautiful addition to any home.
In this post, we’ll explore the basics of orchid care, including light and watering needs, fertilizing tips, and even whether they’re safe for pets. So, let’s dive in and learn how to grow orchids like a pro!
Choosing the Right Orchid
Are you ready to dive into the world of orchids? Before you start growing them, it’s important to choose the right orchid for your home and lifestyle.
With so many types of orchids available, it can be overwhelming to know where to start. In this section, we’ll give you an overview of the different types of orchids and the factors to consider when choosing the perfect one for you.
We’ll also recommend some orchids that are ideal for beginners.
Types of orchids:
There are over 25,000 species of orchids, and they come in a wide variety of shapes, sizes, and colors. Some of the most popular orchids include Phalaenopsis, Cattleya, Dendrobium, and Oncidium.
Each type of orchid has its own unique features, such as the Phalaenopsis’ easy care and beautiful blooms, or the Cattleya’s vibrant colors and fragrant flowers.
How to choose an orchid for growing:
When choosing an orchid, there are several factors you should consider, including the level of care required, the size and space requirements, and the lighting and humidity needs.
You should also consider your own experience and skill level as a gardener, as some orchids require more advanced care than others.
If you are a beginner, start with orchids that are easy to care for and don’t require a lot of maintenance. These orchids typically thrive in a variety of conditions and are forgiving if you make a mistake or two.
Best orchids for beginners

Phalaenopsis Orchids:
Also known as “Moth Orchids,” Phalaenopsis are some of the most popular orchids for beginners. They’re easy to care for, don’t require a lot of light or humidity, and produce beautiful blooms in a variety of colors.
Paphiopedilum Orchids:
Also known as “Lady Slipper Orchids,” Paphiopedilum orchids are another great option for beginners. They’re easy to care for and produce beautiful, long-lasting blooms in shades of pink, purple, and yellow.
Dendrobium Orchids:
Dendrobium orchids are easy to care for and produce clusters of flowers in shades of white, purple, and pink. They do well in a range of light conditions and can thrive in less humid environments.
How to grow orchids
Light:
Light is one of the most important factors in growing orchids. Orchids require light to photosynthesize and produce energy, which is necessary for their growth and survival.
Without adequate light, orchids can become weak and unhealthy, which can lead to poor growth and blooming. Therefore, providing the right amount of light is crucial to the health and well-being of orchids.
Types of light and their effects on orchids
There are different types of light that can affect orchids in different ways. The three main types of light are natural light, fluorescent light, and artificial light.
Natural light is the most ideal for orchids, as it provides a full spectrum of light that is necessary for their growth. However, too much direct sunlight can be harmful to orchids, as it can burn their leaves and flowers.
Fluorescent light is a popular choice for indoor orchid growers, as it is energy-efficient and can provide a similar spectrum of light to natural light.
However, fluorescent light may not provide enough intensity for some types of orchids, which may require more intense light for optimal growth and blooming.
Artificial light can also be used to grow orchids, and it is especially useful for indoor growers who may not have access to natural light or who want to supplement their natural light.
LED lights are a popular choice for orchid growers, as they are energy-efficient, long-lasting, and can provide the specific spectrum of light that orchids need for optimal growth and blooming.
Recommended light conditions for orchids
The light requirements for orchids can vary depending on the type of orchid and its specific needs. In general, orchids require bright, indirect light for optimal growth and blooming. This means placing them near a window where they can receive bright, indirect light for several hours a day.
If natural light is not available or if the orchids are not receiving enough light, supplemental light can be provided using fluorescent or LED lights. The intensity and duration of the light will depend on the type of orchid and its specific needs.
In general, orchids require about 12-14 hours of light per day, with a rest period of 10-12 hours of darkness at night.
It is important to monitor the light conditions for orchids regularly and adjust as needed to ensure they are receiving the right amount of light.
Too little light can result in weak, spindly growth and a lack of blooming, while too much light can cause sunburn and damage to the leaves and flowers.
Watering your orchids:
One of the most important aspects of orchid care is proper watering. Orchids require consistent moisture but also need to avoid being overwatered, which can lead to root rot. The frequency of watering depends on the type of orchid, the potting medium, and the environment.
Different methods of watering orchids
There are several ways to water orchids, including top watering, bottom watering, and misting.
Top watering involves pouring water onto the top of the potting medium, while bottom watering involves placing the pot in a container of water and letting the roots absorb the moisture.
Misting involves spraying water onto the leaves and roots of the orchid.
The method of watering depends on the type of orchid, as well as the potting medium. For example, orchids potted in a bark mix tend to dry out faster than those in sphagnum moss and therefore may require more frequent watering.
Importance of humidity and how to maintain it:
In addition to proper watering, orchids require a humid environment to thrive. They are native to tropical regions where humidity levels are high and therefore need to be kept in a similar environment.
Humidity can be increased through several methods, including using a humidifier, placing a tray of water near the orchids, or grouping several plants together to create a microclimate.
Another effective method is to mist the orchids regularly, as the water droplets on the leaves help to create a humid environment around the plant.
It is important to monitor the humidity levels regularly, as overly dry conditions can lead to problems such as leaf drop and lack of blooms. A hygrometer can be used to measure humidity levels, and adjustments can be made accordingly.
Fertilizing:
Fertilizing is an essential aspect of orchid care as it provides the necessary nutrients for the plants to grow and bloom. Orchids, like all plants, require three primary macronutrients – nitrogen (N), phosphorus (P), and potassium (K) – and several micronutrients.
Fertilizers are a source of these nutrients and help orchids grow strong roots, healthy foliage, and vibrant blooms.
Types of fertilizers and their uses
There are different types of fertilizers available in the market, such as liquid, granular, and slow-release fertilizers.
Liquid fertilizers are often preferred for orchids as they can be easily diluted and absorbed by the plant.
Granular fertilizers, on the other hand, are mixed into the potting medium and slowly release nutrients over time. Slow-release fertilizers are designed to release nutrients gradually over several months.
Orchid fertilizers are formulated specifically for the needs of orchids and usually contain higher amounts of nitrogen for leaf growth and phosphorus for flower development. Some orchid fertilizers also include micronutrients like magnesium, calcium, and iron.
How often and how much to fertilize
The frequency and amount of fertilizing depend on the type of fertilizer used and the specific orchid’s needs. Generally, it’s recommended to fertilize orchids weakly and frequently, meaning using a diluted fertilizer solution every 2-4 weeks.
Over-fertilizing can lead to salt buildup, which can harm the plant’s roots. It’s also essential to flush the potting medium occasionally to remove any accumulated salts.
Orchid growing kit:
If you’re new to orchid growing, a great way to get started is by purchasing an orchid-growing kit like this.
These kits come with everything you need to start growing your own orchids, including pots, soil, fertilizer, and even an orchid plant.
They are a convenient way to get all the necessary supplies in one package and can be a great way to save money compared to buying everything separately.
Repotting:
Repotting is necessary when orchids outgrow their pots or when the potting medium breaks down and can no longer support the plant’s growth. The frequency of repotting depends on the orchid’s growth rate and the potting medium used. Generally, orchids should be repotted every 1-2 years.
When repotting, it’s crucial to use the right type of potting medium. Orchids require a well-draining medium that allows air to circulate around the roots. Common potting mixes for orchids include sphagnum moss, bark, and perlite.
To repot an orchid, gently remove it from its pot and remove any old or decaying roots. Then, place the orchid in a new pot with fresh potting mix and gently pack the mix around the roots. Water the orchid thoroughly, taking care not to waterlog the potting medium.
Fertilizing and repotting are crucial aspects of orchid care that help promote healthy growth and blooming. With the right fertilizing and repotting techniques, your orchids can thrive for years to come.
common problems and their solutions:
Orchids are relatively low-maintenance plants, but like any other living thing, they can experience problems. Some of the most common problems with orchids include root rot, leaf spot, pests, and yellowing leaves. It’s important to keep an eye out for these issues so you can address them before they become severe.
Pests:
Common pests that can affect orchids include spider mites, mealybugs, and scale. To get rid of these pests, you can use insecticidal soap or a neem oil solution. It’s important to treat the orchid as soon as you notice pests to prevent them from spreading.
Root rot:
Root rot is a common issue with orchids that occurs when the roots are overwatered and become waterlogged. To fix root rot, remove the affected roots and replant the orchid in fresh, well-draining soil. You should also adjust your watering schedule to prevent the issue from recurring.
Leaf spot:
Leaf spot is a fungal infection that causes small brown or black spots on the leaves. To prevent leaf spots, avoid getting water on the leaves and keep the orchid in a well-ventilated area. If your orchid does get a leaf spot, remove the infected leaves and treat the plant with an organic fungicide like neem oil.
Yellowing leaves:
Yellowing leaves can be a sign of a few different problems, including overwatering, underwatering, or nutrient deficiencies. To fix the issue, make sure you’re watering your orchid properly and fertilizing it regularly.
Why my orchids are not blooming?
Seek professional help
If you’ve tried to fix a problem with your orchid and it’s not improving, it may be time to seek professional help. A professional orchid grower or horticulturist can help diagnose the issue and provide expert advice on how to fix it.
It’s also a good idea to seek professional help if you’re a beginner and unsure how to properly care for your orchid.
Further information:
If you want to dive even deeper into the world of orchid growing, there are plenty of great books and guides out there to help you expand your knowledge and skills. From beginner-friendly guides to more advanced books for experienced orchid growers, there’s something for everyone.
Two of the most popular orchid books are “The Orchid Whisperer” by Bruce Rogers, and “Understanding Orchids: An Uncomplicated Guide to Growing the World’s Most Exotic Plants” by William Cullina. They offer detailed information on specific orchid varieties, as well as tips and tricks for overcoming common problems and growing healthy, vibrant plants.
Conclusion:
Alright, friends, we’ve reached the end of our orchid-growing journey! Let’s do a quick recap of what we’ve learned so far.
We talked about choosing the right type of orchid for beginners, the importance of light and humidity, fertilizing and repotting techniques, and how to troubleshoot common problems.
Now, before you go out and start your own orchid garden, let me leave you with a few final tips. Remember to be patient with your orchids – they may take some time to bloom, but it’s worth the wait!
Also, don’t be afraid to experiment with different methods of watering and fertilizing to find what works best for you and your plants.
And finally, to all you first-time orchid growers out there, I encourage you to give it a go! Growing orchids can be a fun and rewarding experience, and with the tips and knowledge you’ve gained from this post, you’re well on your way to becoming a pro.
If you found this post helpful, don’t keep it to yourself! Share it with your friends and family who might also be interested in growing orchids.
And don’t forget to check out our website for more informative articles on gardening, home decor, and lifestyle. We are dedicated to providing you with the best tips and advice to help you live your best life. So keep exploring and keep growing!
What’s the secret to growing orchids?
Well, there’s no one secret to growing orchids, but if I had to pick one thing, it would be paying attention to their specific needs.
Different orchids have different requirements for light, water, and humidity, so it’s important to do your research and cater to their individual needs.
Are orchids easy to grow?
It depends on the type of orchid and your level of experience. Some orchids, like the Phalaenopsis, are relatively easy to care for and great for beginners. Others, like the Vanda, can be more challenging.
But with some patience, research, and a little bit of trial and error, anyone can learn to grow orchids successfully.
How do you grow orchids properly?
To grow orchids properly, pay attention to their specific needs for light, water, humidity, and fertilization. Research the specific type of orchid you have and cater to its individual needs.
Additionally, repotting and pruning may be necessary at times, so it’s important to stay on top of those tasks as well.
How do you grow orchids indoors for beginners?
For beginners growing orchids indoors, it’s important to choose an orchid that does well in lower light conditions, such as a Phalaenopsis.
Make sure to place it near a window with bright, indirect light, and avoid over-watering by letting the potting mix dry out slightly between waterings.
Maintaining proper humidity levels is also important, and can be achieved through methods such as using a humidifier or placing a tray of water near the orchid.
Amazon and the Amazon logo are trademarks of Amazon.com, Inc, or its affiliates.

Hi there! My name is Prasenjit and I’m an avid gardener and someone who has grown a passion for growing plants. From my hands-on experience, I have learned what works and what doesn’t. Here I share everything I have learned.
I am truly delighted to glance at this web site posts which contains lots
of useful information, thanks for providing these
kinds of data.
Do you have any video of that? I’d like to find out some additional information.
Hi there, after reading this awesome article i am too cheerful
to share my know-how here with friends.
The advice is very interesting. http://bit.ly/2p7LTKb
Enjoyed every bit of your blog article. Fantastic.
I appreciate you sharing this article. Great.
Very neat blog.Really looking forward to read more. Much obliged.
Major thanks for the post.Thanks Again. Cool.
I can’t believe how great this site is. You keep up the good work. That’s my advice pal.