We use affiliate links to run our site. When you buy through links on our site, we may earn an affiliate commission, without any added cost to you. Learn more
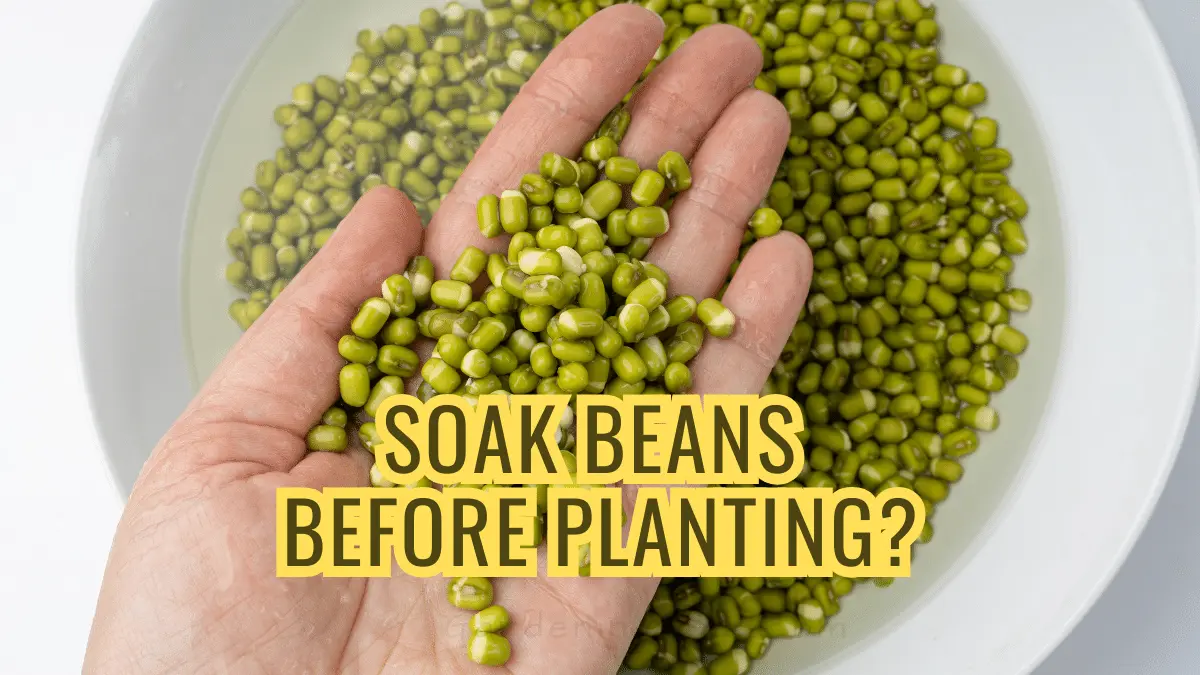
Soaking beans before planting is a common practice that many gardeners swear by. But is it really necessary?
Here’s a look at the reasons for and against pre-soaking beans and some tips to help you decide if it’s worth the extra time and effort.
Why Soak Beans Before Planting?
There are quite a few key reasons why soaking is traditionally recommended:

To Speed Germination:
Dry beans have hard outer coatings that can slow water absorption and delay germination. Soaking causes beans to swell and begin the germination process before planting by softening the seed coat. This gives the seed a head start, allowing it to break through the soil and sprout more quickly once planted.
To Improve Germination Rates:
In addition to accelerating germination, soaking can also increase overall germination rates. The hydration from soaking kickstarts the growth process and activates enzymes necessary for germination. This activity in the seed results in higher percentages of beans sprouting compared to unsoaked beans.
To Remove Growth Inhibitors:
Some varieties of beans contain chemical compounds that inhibit germination. Soaking leaches these growth inhibitors out of the beans and washes them away, supporting better germination.

To Prevent Rotting:
Beans that struggle to absorb water from the soil after planting are prone to rotting from excessive moisture. Pre-soaking ensures seeds have adequate hydration from the start, reducing the chance of waterlogged seeds succumbing to fungal diseases.
Growing Beans At Home: Everything From Planting To Harvesting [In A Nutshell]
Reasons to Avoid Pre-Soaking:
While pre-soaking has some benefits, there are also reasons many gardeners opt to skip it:
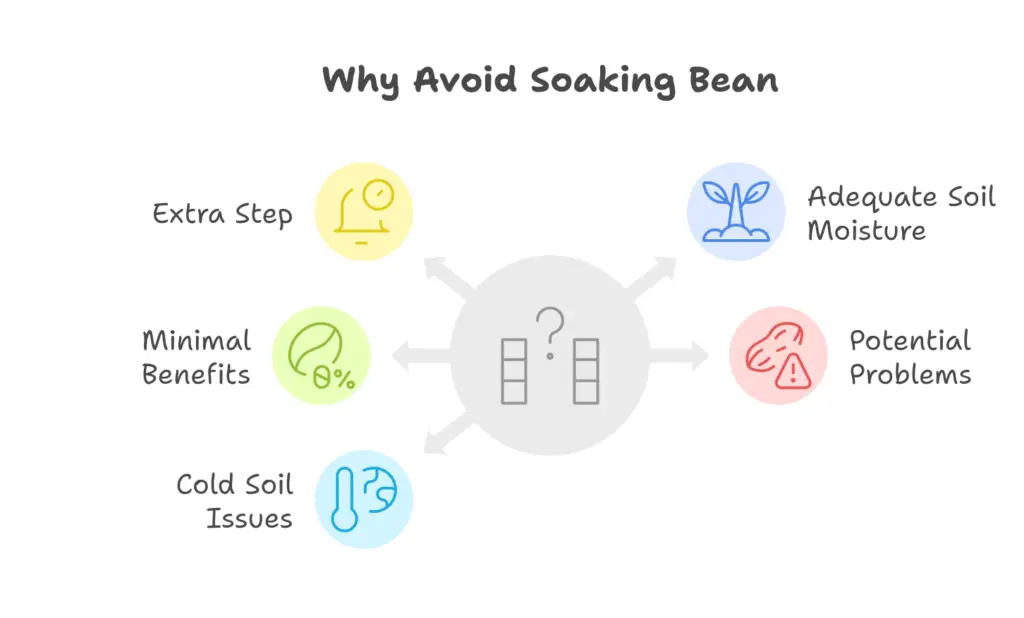
It’s an Extra Step:
Soaking beans adds time and an extra task to the planting process. For busy gardeners or those sowing larger volumes of beans, skipping soaking simplifies the process.
Soil Moisture is Often Adequate:
Beans sown in moist, loose soil will still absorb the water needed to kickstart germination, eliminating the need for pre-soaking. As long as soil moisture is sufficient, unsoaked beans will still sprout just fine.
Some Benefits are Minimal:
Research shows soaking improves germination rates by only a small percentage for many bean varieties. For gardeners who don’t need maximum germination, the couple of extra percent sprouting may not justify the hassle of pre-soaking.
It Can Invite Problems:
If not done properly, pre-soaking can actually cause issues. Leaving seeds soaking too long can lead to mold growth. And sowing beans while still wet can make them stick together when planted too close.
Cold Soil Temperatures:
Soaked beans sown in cold spring soil may rot rather than germinate. The energy, soaked beans use to sprout can deplete food reserves needed to push through the cold earth.
Best Soaking Times by Bean Type
Not all beans benefit equally from soaking. Here’s what works best for common varieties:
| Bean Type | Soaking Recommended? | Best Soak Time | Notes |
| Black Beans | Yes | 8-12 hours | Hard seed coat; soaking speeds germination significantly |
| Pinto Beans | Yes | 8-12 hours | Benefits from overnight soaking; improves germination by 15-20% |
| Kidney Beans | Yes | 8-12 hours | Thick seed coat; soaking recommended for best results |
| Lima Beans | Yes | 4-6 hours | Softer seed coat; shorter soak time is sufficient |
| Green Beans | No | N/A | Thin seed coat; absorbs moisture quickly from soil |
| Snap Beans | No | N/A | Plant directly; soaking not necessary |
| Chickpeas | Yes | 12-24 hours | Very hard seed coat; longer soak time helps |
| Lentils | No | N/A | Small seeds; soaking can cause waterlogging |
How Long Should You Soak Beans?
The key is allowing adequate hydration while not exhausting food stores needed for germination.
Recommended Soaking Times:
- Overnight soaking: 8-12 hours is standard and works for most beans
- Day soaking: 6-8 hours during daylight hours also works well
- Extended soaking: 12-24 hours for very hard seed coats (like chickpeas)
Important: Monitor beans during soaking. Drain immediately if you see any signs of sprouting or mold. Moderation is key to avoiding the potential downsides of oversoaking.
Can You Oversoak Beans?
Yes, it is possible to oversoak beans before planting. Here’s what happens:
Signs of Oversoaking:
- Beans begin to sprout in the water
- Mold appears on the bean surface
- Beans become mushy or soft
- Water develops a foul smell
Why Oversoaking is a Problem:
When beans soak too long, they use up their stored energy. This energy is needed for germination. If beans sprout in water, they can’t develop proper roots. They may rot instead of growing.
The Solution:
Soak overnight (8-12 hours) and drain immediately. Don’t leave beans sitting in water for more than 24 hours. Check them periodically. If they start sprouting, plant them right away or discard them.
Seeds That Benefit from Soaking
These seeds have hard coats or germination inhibitors. Soaking helps them sprout faster and more reliably:
- Large beans: Black beans, pinto beans, kidney beans, chickpeas
- Legumes: Lentils (though some gardeners skip this), peas
- Seeds with thick coats: Squash, pumpkin, melon
- Seeds with germination inhibitors: Parsnips, okra, spinach
- Hard-seeded plants: Beans, peas, lupines
Seeds That Typically Don’t Require Soaking
These seeds have thin coats or absorb moisture easily from soil. Soaking can actually harm them:
- Small seeds: Lettuce, carrot, radish, beet
- Quick-germinating seeds: Green beans, snap beans, bush beans
- Fine seeds: Celery, parsley, basil
- Seeds prone to rot: Lentils, millet, some herb seeds
- Seeds that need air: Petunia, impatiens, begonia
Why skip soaking for these? They absorb soil moisture quickly. Soaking can waterlog them. This leads to rot or mold before they sprout.

Tips for Pre-Soaking Beans:
If you do wish to pre-soak beans before planting, here are some tips for the best results:
1. Use Room Temperature Water
Use water that’s about 70°F (21°C). Not too hot, not too cold. Room temperature water works best for most beans.
2. Use a Clean Container
A clean jar, bowl, or bucket works well. Make sure it’s clean to prevent mold growth.
3. Use Enough Water
Cover beans with 2-3 inches of water. Beans will swell and need space. Don’t overcrowd the container.
4. Keep Beans in a Cool Place
Store soaking beans in a cool, dark spot. Not in direct sunlight. A kitchen counter or pantry works fine.
5. Drain and Plant Promptly
After soaking, drain the beans completely. Plant them right away in moist soil. Don’t let them sit around after soaking.
6. Plant in Warm Soil
Soaked beans need warm soil to thrive. Wait until soil temperature is at least 60°F (16°C). Better yet, wait for 70°F (21°C) or warmer.
7. Don’t Let Them Dry Out
After planting soaked beans, keep soil consistently moist. Not waterlogged, but moist. This helps them establish roots.
8. Space Them Properly
If beans are still wet when planting, separate them carefully. Don’t plant them touching each other. Space them according to seed packet directions.

Soaking vs. Not Soaking: Quick Comparison
| Factor | Soaked Beans | Unsoaked Beans |
| Germination Speed | Faster (3-5 days) | Slower (7-10 days) |
| Germination Rate | Higher (85-95%) | Lower (70-85%) |
| Time Required | Extra 8-12 hours | None |
| Best Soil Temp | 70°F+ (warm) | 60°F+ (moderate) |
| Risk of Rot | Higher if done wrong | Lower |
| Best For | Hard seed coats | Most home gardeners |
| Difficulty | Medium | Easy |
Final Thought:
Many experts recommend pre-soaking beans. But it’s not universally necessary. Pay attention to your specific planting conditions. Decide if soaking makes sense for your garden.
Soaked beans may have better, faster germination. But they still need warm, moist soil to thrive. Weigh the benefits against the extra time required. Pick the approach that fits your needs.
Next Steps:
- Check your seed packets for specific soaking recommendations
- Test soaking with a small batch first
- Keep notes on what works best in your garden
- Try different methods each season
With a little trial and error, you can determine if pre-soaking helps your bean harvest. Adjust your techniques each season based on what works best for your unique growing environment. That way, you can discover the ideal practices that result in a bountiful crop of your favorite beans.
Frequently Asked Questions
Q: Do I need to soak all types of seeds before planting?
A: No. Soaking is not a universal requirement for all seed varieties. It depends on the specific seed type and your planting conditions. Hard-seeded beans benefit from soaking. Small seeds and quick-germinating seeds typically don’t. Always refer to seed packet instructions for guidance.
Q: What temperature water should I use for soaking?
A: Room temperature water (around 70°F or 21°C) is best. Avoid hot water, which can damage seeds. Avoid cold water, which slows the process.
Q: Can I soak beans overnight?
A: Yes. Overnight soaking (8-12 hours) is the standard recommendation. It’s safe and effective for most beans.
Q: What if I forget to drain the beans?
A: If beans have soaked for more than 24 hours, check for mold or sprouting. If they look okay, you can still plant them. If mold is visible, discard them. It’s best to drain and plant within 12 hours.
Q: Should I soak beans in cold climates?
A: Be cautious in cold climates. Soaked beans need warm soil to germinate. If your soil is still cool in spring, wait until it warms up. Or skip soaking and plant directly in moist soil.
Q: Can I reuse soaking water for my garden?
A: Yes. The soaking water contains nutrients leached from the beans. Use it to water other plants. Don’t waste it.
Amazon and the Amazon logo are trademarks of Amazon.com, Inc, or its affiliates.

Gardener with 12+ years of hands-on experience growing vegetables and fruits in home gardens. Learned through trial, error, and observation — not textbooks. Shares what actually works (and what doesn’t) in real-world conditions. No fluff, no hype — just practical tips from the soil up.