
We use affiliate links to run our site. When you buy through links on our site, we may earn an affiliate commission, without any added cost to you. Learn more
So you’ve decided to add marigolds to your garden—congratulations! These bright, beautiful flowers are a great addition to any yard. But how long will it take for them to grow? The answer is a little complicated and involves several different stages of growth.
In this post, I will guide you through the different growth stages of a marigold plant so you have a good idea of the whole process.
Interested..? Read on.
How Long Does It Take to Grow A Marigold Plant?
Marigolds are an excellent choice of flowers for your garden. They grow quickly and easily, thrive in both sun and shade, and are known for their bright colors, which can range anywhere from yellow to orange to bronze.
The plants will take about 8-10 weeks to mature.
Like most plants, marigolds start out as seeds that germinate into seedlings before growing into mature plants. If you’re growing marigolds in your garden, you may be curious about the different stages of growth.
Luckily, the process is fairly quick—marigold plants grow fast and bloom quickly!
The Growth Stages of A Marigold Plant:
Marigold has quite a few growth stages that are easy to follow and understand.
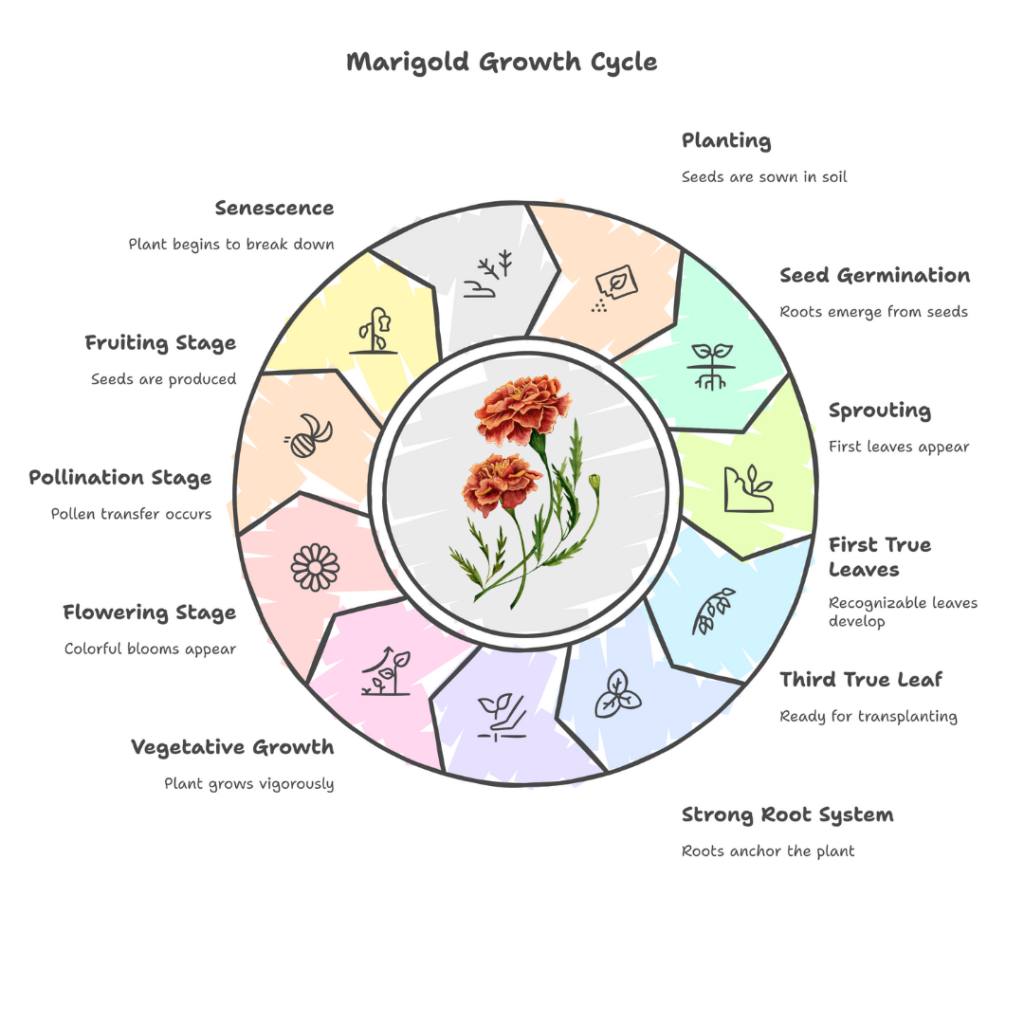
Here are the main 11 growth stages of a marigold plant:
1. Planting:
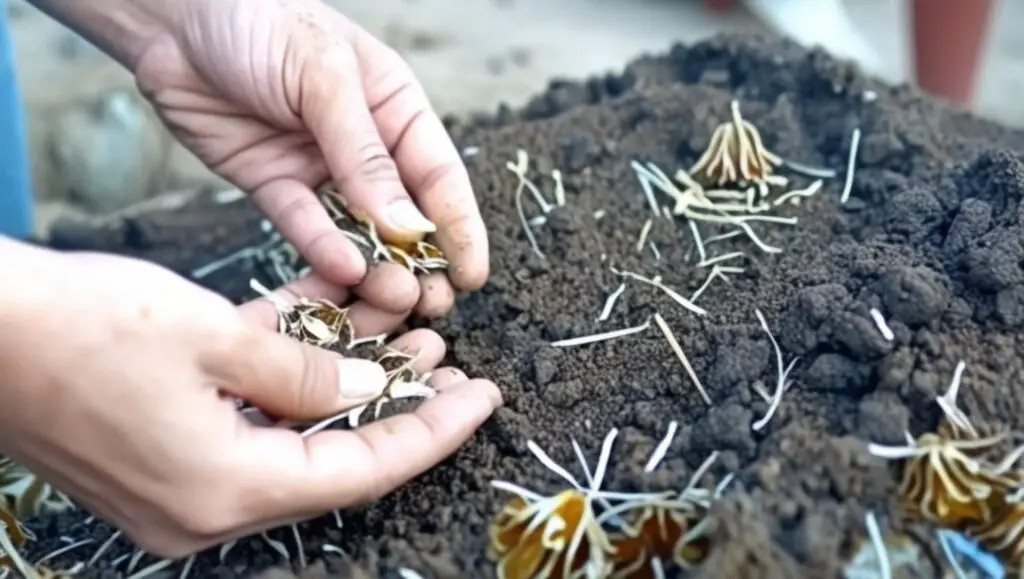
Marigold seed packets are readily available from most garden centers, and you can also purchase the seeds from a variety of online retailers. The marigold seedlings will grow 12 to 18 inches tall and produce single or double-flowered blooms in yellow, orange, red, or white.
Plant marigolds in a full sun location with well-drained soil. They will not tolerate soggy soil, but look best when they have adequate water. If you live in a warm climate, start your marigold seeds indoors about 2 weeks before your last frost date.
2. Seed Germination:
The first stage of germination is the sprouting of the root tip through the seed coat. This usually occurs within four to seven days after planting, depending on the temperature and moisture of the soil.
Sow marigold seeds indoors six to eight weeks before the last spring frost. Plant them in a container or seed tray filled with a free-draining soil mix or seed-starting medium.
Moisten the soil until it is evenly damp but not soggy. Place 2 or 3 seeds gently on top of the soil and cover with ¼ inch of soil.
It’s important not to overwater or disturb the soil while the roots are growing out of their seeds, so be gentle with your watering can during this time.
Keep an eye on any weeds that might sprout up around your marigolds during this phase because they could compete for nutrients with your flowers.
3. Sprouting:
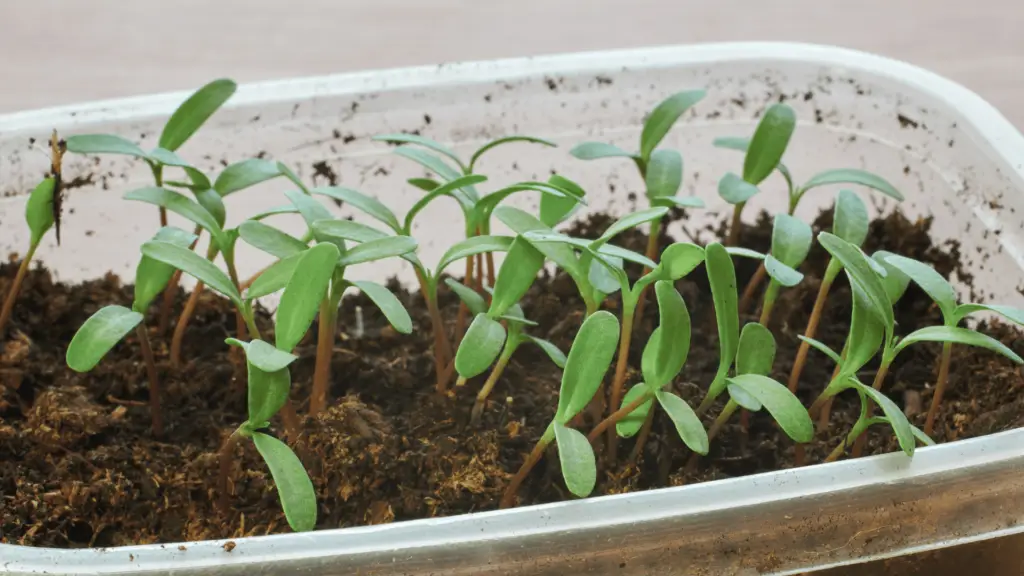
In this stage, the first two leaves that emerge from the seeds. They are not true leaves but rather a pair of embryonic leaves called cotyledons.
Cotyledons help the plant collect energy from the sun as they begin to form stems and roots.
4. First True Leaves Develop:
At the first true leaf stage, the cotyledon leaves have fallen off, and this is when the first set of true leaves with the recognizable marigold shape starts to emerge. At this stage, leave the plants in their cozy little pots.
5. Third True Leaf Develops:

The third true leaf is what you should look for if you’re planning on transplanting your marigolds. When the third true leaf has emerged, gently pull each plant out of its pot and place it in a new location.
If you’d like to plant them in your garden, make sure that your garden soil is moist before digging a hole and gently placing the seedling inside.
For indoor plants, you can use a container or planter with drainage holes so that water doesn’t sit at the bottom of your plant for too long.
6. Forms a Strong Root System:
Once they have sprouted and begun growing their first true leaves, marigolds quickly enter the next stage of growth: forming a robust root system.
The root system allows the plant to extract nutrients from deep in the soil. The roots are also used to anchor the plant in place to prevent it from being blown over by wind or knocked over by heavy rain.
7. Vegetative Growth:

Once the root system develops and the plant gets nutrients from the soil, it starts to vigorously grow its vines.
Marigolds begin forming leaves during their vegetative stage, which lasts about three weeks for most varieties of marigolds.
During this time, their stems become strong and sturdy, and their roots deepen into the soil, enabling them to support more growth above ground.
8. Flowering Stage:

Marigolds usually start flowering sometime between two and three months after germination.
Flowering is one of the most noticeable stages in a plant’s life cycle, now they are ready to produce their colorful blooms. They will undergo a flowering stage that leads up to fruit and seed formation.
You can pinch off the flower heads as soon as they fade away in order to encourage further blooming throughout the remainder of the season.
Feed your marigolds a high-phosphorus fertilizer at this point.
9. Pollination Stage:

Soon, the male flowers start producing pollen, and the plant enters the pollination stage.
Pollination is the process by which pollen from a male flower is transferred to a female flower.
If you want to pollinate marigolds by hand, use a small paintbrush to transfer pollen from the male blossom to the female blossom. The process takes only seconds.
If there are bees around the garden, you needn’t worry about pollinating by hand as they will do it for you.
Once the female flowers get pollinated, the plant enters the fruiting stage.
10. Fruiting Stage:
Marigold flowers produce seeds when they are pollinated by pollinators, such as bees and butterflies.
Many of the marigold’s flowers begin to wilt when they reach their peak color and must be removed from the plant; otherwise, the flowers will drop their seeds on the ground.
[su_note note_color=”#ecece2″ radius=”1″]Don’t Forget to Read: How to Deadhead Your Marigold Plant[/su_note]
11. Senescence:

Senescence is the final stage of the life cycle of the plant. At this stage, the plant stops growing and begins to break down.
Conclusion:
As you germinate your marigold seeds, you will notice that they go through different growth stages. Each of these requires different amounts of water, nutrients, and exposure to the sun.
Once your marigold plant has reached a particular stage, it is important to change the amount of care and exposure you are giving it if you want it to prosper.
I hope this post was helpful to you. If you like the information, share it with others, and Don’t Forget to PIN IT.

Amazon and the Amazon logo are trademarks of Amazon.com, Inc, or its affiliates.

Gardener with 12+ years of hands-on experience growing vegetables and fruits in home gardens. Learned through trial, error, and observation — not textbooks. Shares what actually works (and what doesn’t) in real-world conditions. No fluff, no hype — just practical tips from the soil up.