We use affiliate links to run our site. When you buy through links on our site, we may earn an affiliate commission, without any added cost to you. Learn more
A lot of people wonder how to grow potatoes at home, especially with the limited space inside our houses. But, you would be surprised to know that growing potatoes at home is actually an easy task and you can do it regardless of your soil type or climate. And yes, even if it’s your first time trying to grow potatoes at home.
This short and simple article will teach you about:
- Ideal Soil For Potatoes.
- How to Plant Potatoes.
- How To Water A Potato Plant.
- When and How to Harvest Potatoes.
- How To Store Potatoes.
This will definitely increase your confidence.
How Can You Grow Potatoes:
Potatoes are cool-season crops that need 6-8 hours of direct sunlight. To grow potatoes use loose, well-drained soil with a pH between 6.0 and 7.0. Plant seed potatoes 2-4 inches deep in trenches. Water them regularly. Keep hilling up your plants. And within 60-130 days, depending on the variety, you are ready to harvest your potatoes.
Why Grow Potatoes:
Potatoes are the world’s most popular vegetable and the fourth most grown food crop in the world after corn, wheat, and rice. They are one of the most versatile and historical vegetables you can grow at your home.
So, what is so fun about growing your own potatoes?
Growing potatoes is fun and easy. Potatoes are versatile, requiring less effort than most vegetables, and are perfect for smaller gardens. It makes a great garden project for your children or grandchildren.
Potatoes are nutritious also. They are a great source of vitamin C, potassium, fiber, and protein, and have very little fat.
History of Potato:
Potatoes originate from South America and are closely related to nightshade family plants such as tomatoes and eggplants.
They are native to the Andean region of South America, where they were cultivated by various cultures for thousands of years. It was introduced to Europe in 1536 and in the United States after 1719.
How do Potato Plants grow?
The potato is a member of the Solanaceae (nightshade) family, which includes tomato, pepper, eggplant, etc.
A potato tube is the enlarged, edible, underground storage portion of the potato developed from underground stems or stolons.
The plant usually starts tuber formation by moving starch into the developing tubers five to seven weeks after you have planted your potatoes. By this time they are 6-8 inches tall.
Though potato plants develop fruits and flowers, they are not edible. The small green tomatoes that you have seen on your potato plants are real potato fruits. They contain potato seeds.
Although potatoes can be grown from seeds they won’t be like your parent potato plant. Gardeners and farmers use tubers with eyes (dormant buds) to grow potatoes.
Once the growing season is over the vines will die back at the soil level. Now, it’s time to harvest tubers. Being a perennial plant the potatoes will later regrow and reproduce from those tubers.
Growth Stages of A Potato Plant:
Potato growing is an exciting process that takes the humble spud from a seedling to a full-grown tuber. It takes about two and a half months for a potato plant to mature fully. There are four main stages in the potato growing cycle:
Phase 1: Vegetative Growth Stage (0–30 days)
Most vegetative growth of your potato plant happens in this phase. Make sure you give your plants enough nitrogen so that the plant can grow larger and support tuber development through sugar and starch translocation.
Phase 2: Starting Tuber Formation (30–60 days)
From 30 to 60 days in the growth cycle of the plant, it starts forming tubers. Flowering generally begins at approximately 40–50 days. If you plan to get new potatoes dig them out now.
Phase 3: Tuber Enlargement Stage (60–90 days)
During this stage, the plant will invest hugely in the tubers resulting in tuber enlargement. The plant needs lots of nitrogen in this stage so forget to feed your plants.
Phase 4: Tuber enlargement, skin set, and curing (90–120 days)
This is the final stage of potato growth. In this stage, the tubers enlarge, even more, and the starch in the tubes reaches its highest amount, skins thicken and become ready for harvesting.
Each of these potato growing stages requires specific care and attention in order to ensure a successful crop.
[bctt tweet=”My Idea Of Heaven Is Great Big Baked Potato And Someone To Share It With. -Oprah Winfrey” username=”packedgarden”]
Popular Potato Varieties:
There are many different types of potatoes that you can try your hands on. They vary mainly in shape, flesh color, and skin appearance.
Russet Potatoes:
This is the most popular market type in the United States. Russets typically have thick brown skins and white flesh. They’re ideal for frying and roasting but will disintegrate in soups and stews.
White Potatoes:
These are thin‐light brown-skinned all‐purpose potatoes with a firm, creamy texture. They are considered all-purpose potatoes. If you don’t know what potatoes to use in a recipe, you’ll be safe with these.
White potatoes are creamy when baked yet hold their texture when boiled.
Colorful Potatoes:
These potatoes can be red, pink, blue, purple, or yellow in color. Some of them are good for frying while others are good for boiling purposes.
Fingerling Potatoes:
They are small and elongated and resemble fingers. Fingerling potatoes have thin skin, so you can have them both roasted or boiled.
Which Variety Should I Grow:
If you are thinking about how to grow potatoes, consider your garden space, yield, storage, and your personal preferences before selecting a variety.
Always go for the certified potato tubers. Using tubers from your earlier harvests, or the store-bought ones can result in lower yields as they are prone to diseases.
Grocery-bought potatoes are also treated with growth inhibitors that prevent sprouting. You can easily buy certified potato tubers online or from your local garden nurseries.
[su_heading size=”34″ margin=”10″]The Best Way To Grow Potatoes[/su_heading]
Growing your own potatoes is not that difficult, and probably everybody should give it a try. It grows in full sun. So the first step to a healthy plant and good yield would be to select a spot where you will receive direct sunlight for at least 6 to 8 hours a day.
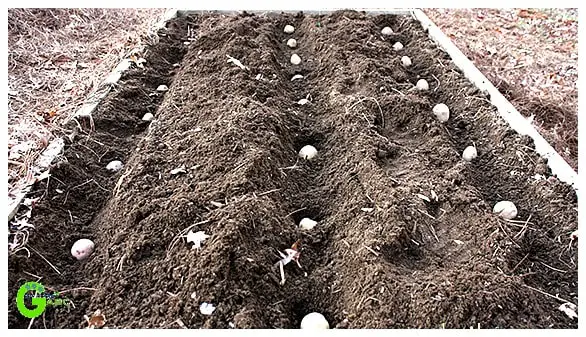
Prepare Shallow trenches for planting:
Potatoes can be planted in small trenches. To prepare shallow trenches, first mark out the area where you want to plant them. Then use a spade to dig a trench that is about 10cm deep and 30cm wide. You can now use this to plant seed potatoes.
Soil Preparation:
Soil quality is not a very important factor in potato gardening. You can plant them in almost any type of soil. But a loose sandy loamy soil with a pH range of 5.5 to 6.5 (slightly acidic) works best.
Make sure that your soil is not very hard. Hard soil can result in poorly shaped tubers. To resolve the problem mix coco coir and compost with your garden soil. It will also increase the water-retaining capacity as a whole.
For getting good quality tubers you need to make the soil loose. So it is generally a practice to loosen the soil before planting. Use a tiller or a hoe to do the job.
Optimum soil temperatures:
Optimum soil temperatures for growing tubers are 12-18 C. Above 20 C, the production declines. The temperature affects the rate of photosynthesis, photosynthesis is necessary for the production of carbohydrates, which are used to form potato tubers.
Try to keep the temperature between the above-mentioned range.
Use Mulch:
One of the easiest ways to keep the soil cool is to use mulch. You can use any biodegradable mulch. Most gardeners prefer to use hay or straw mulch.
The Mulch not only keeps the soil cool and moist but also work as a preventive barrier for pests like Colorado potato beetles and other insects that travel on foot.
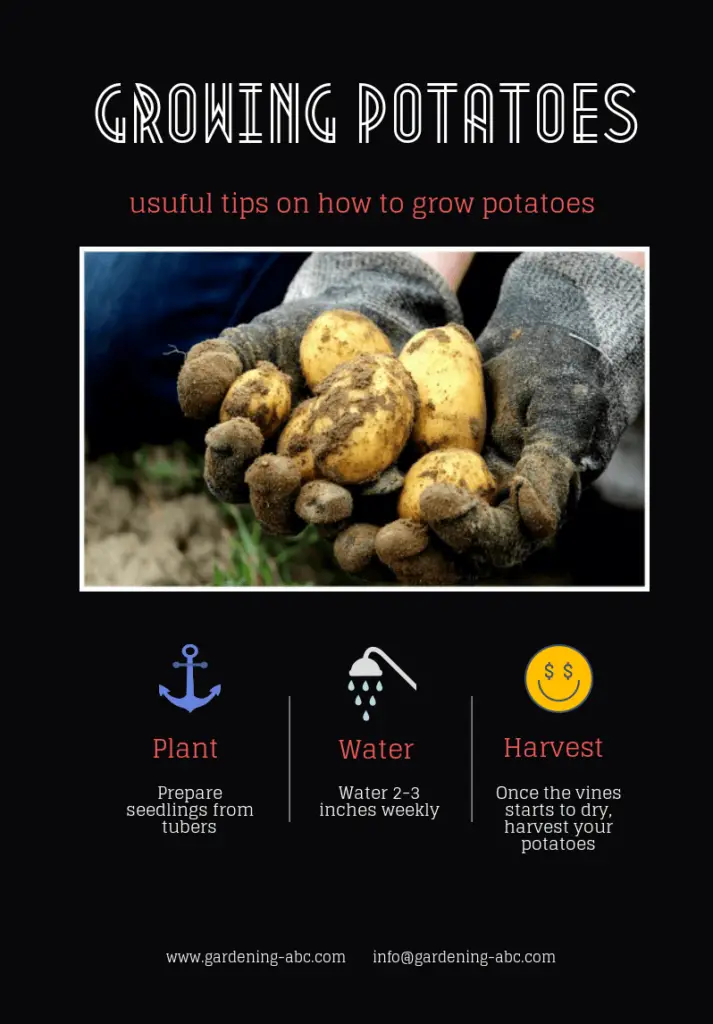
Prepare Seed Potatoes:
Unlike most of the other vegetables discussed earlier (which are mostly grown from the seed), potatoes are grown from the tuber itself and not from the fruit.
To prepare the tubers for planting, first cut a whole potato into small pieces keeping in mind that each piece should contain at least two eyes. If you have very small size potatoes, instead of cutting them, use them as a whole.
After making those suitable cuts leave those tuber pieces in direct sunlight for a day. This will help the exposed area to dry up and will prevent rotting when you plant them.
Before planting the tubers sprout them first. We have a detailed article on how to sprout seed potatoes, see it for more information.
Once the eyes have sprouted you can now use them in place of seeds to grow potatoes.
[bctt tweet=”Potatoes are grown from the tubers and not from the seeds.” username=”packedgarden”]
Potato Planting Method:
Once the soil is loosened up plant these potato-cuttings keeping the eye side upwards. Keep a 1-foot space between two plants.
Cover the seeds with 3-4 inches of soil. It is best to grow potatoes in rows. Keep each row 3 feet apart.
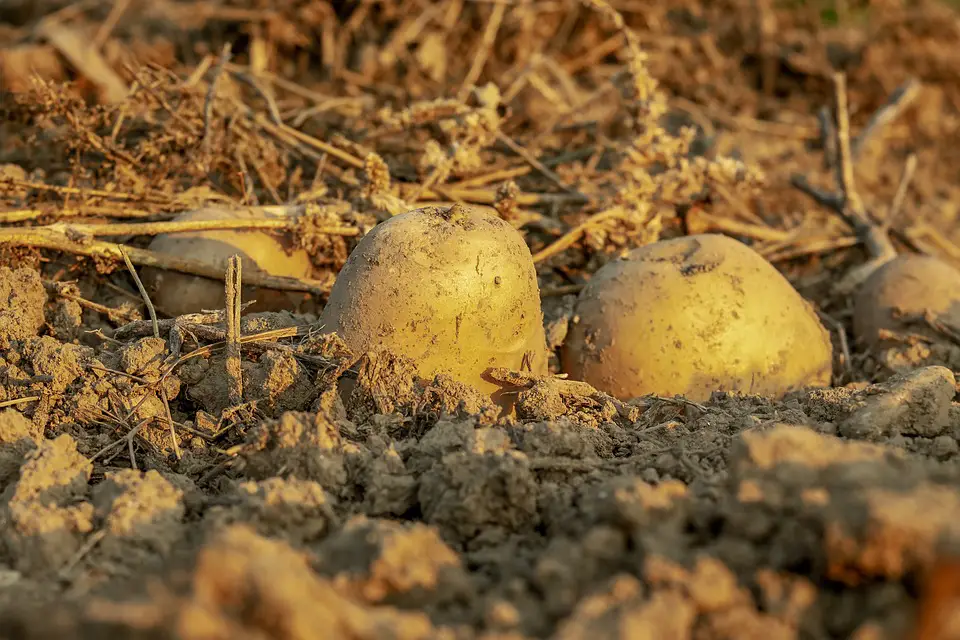
Once the plants reach 8 inches tall you need to draw up soil around the plant, this is also known as hilling up your potatoes. If the tuber is exposed to the sunlight it will make them bitter.
Fertilizing:
One of the easiest ways to fertilize your potato soil is to use a mixed legume/cereal cover crop like beans, peas, triticale, and vetch. It will not only add nitrogen to the soil but the cover crop residues will also make the soil loose and friable.
Add well-rotted manure or quality compost at the rate of 5 tonnes/acre from time to time to keep the soil fertile.
How To Water A Potato Plant:
Potatoes are very sensitive to soil moisture so always maintain a consistent moisture level. Moderate watering works best for the plant. Dry soil alternating with periods of saturated soil can result in poor quality and defective tubers.
2-3 inches of water weekly is enough for a potato plant, just make sure the soil has proper drainage. The waterlogged condition is not ideal for the tubers. It causes them to rot.
Use drip irrigation to water the plants. This way you can control the irrigation rate and timing, and apply water directly to the growing plants.
Once the plant starts flowering you have to increase the amount of water in the soil. Continue watering the plants till the foliage turns yellowish and then stop it completely.
This is the most important phase in the life of the potato as during this period the tubers are formed. So the lack of water can hamper your yield.
Hilling Potatoes:
Once the plants reach a height of 6-8 inches you need to mound soil around the plant. This process is commonly known as hilling. Take a bit of care while doing this; you don’t want to damage the roots of the plant.
Hilling is a necessary step to grow potatoes, it prevents the tubers from getting exposed to sunlight and stops them from turning green. It also facilitates weed management and boosts your yields.
[bctt tweet=”While growing, if potato tubers come in contact with sunlight it will become bitter.” username=”packedgarden”]
Pest and Diseases:
Your potatoes are prone to many pests and diseases. But not all of these will affect every potato variety. So, before selecting the variety lookup for common pests and diseases that are common in your area.
Some of the most common pests are:
- Cucumber Beetle,
- Aphids,
- Tuber Flea Beetle,
- Wireworms,
- Viruses etc.
Some of the common diseases are:
- Early blight,
- Late blight,
- Verticillium Wilt,
- Scabs etc.
You can read more about potato diseases in this post.
When to Harvest Potatoes:

After about 80-120 days the potatoes are ready to harvest. Once the vine starts to die, it’s harvest time for your potatoes. As the soil is loose, it will not be much of a problem to dig.
While harvesting you can use your bare hands to dig the soil or you can use a hoe or a shovel. Just be careful otherwise you could damage some of the tubers.
After taking out the tubers, lay them above the soil for 2 to 3 days if the weather is dry and no rain is expected. It will help the outer jacket of the tubers to become thick and will help in storage.
In case the weather is wet, keep them in a dry area.
After that, you can brush off the soil from the tubers and store them in a cool and dry place. For more details on how to store vegetables read our article titled Storing Your Vegetables: You Must Know the Basics.
Conclusion:
Potatoes are not difficult to grow, but it does take some effort. Hopefully, this article helped you learn about how to grow potatoes at home.
If you do it correctly, you’ll be rewarded with lots of yields to feed you and your family for months! The best part is that this homegrown potato food will be organic, fresh, and better than anything you can find in your grocery store.
Sounds simple? Why don’t you try this in your own garden? Let us know about your experience.
Don’t Forget to PIN IT
Amazon and the Amazon logo are trademarks of Amazon.com, Inc, or its affiliates.
Growing potatoes can be staggeringly fulfilling, especially in the event that you have the space to plant a reasonable number of them. Even better, in the event that you get an especially decent product, you can process some of them and store them for times when there aren’t any new tubers to collect from your garden.