We use affiliate links to run our site. When you buy through links on our site, we may earn an affiliate commission, without any added cost to you. Learn more
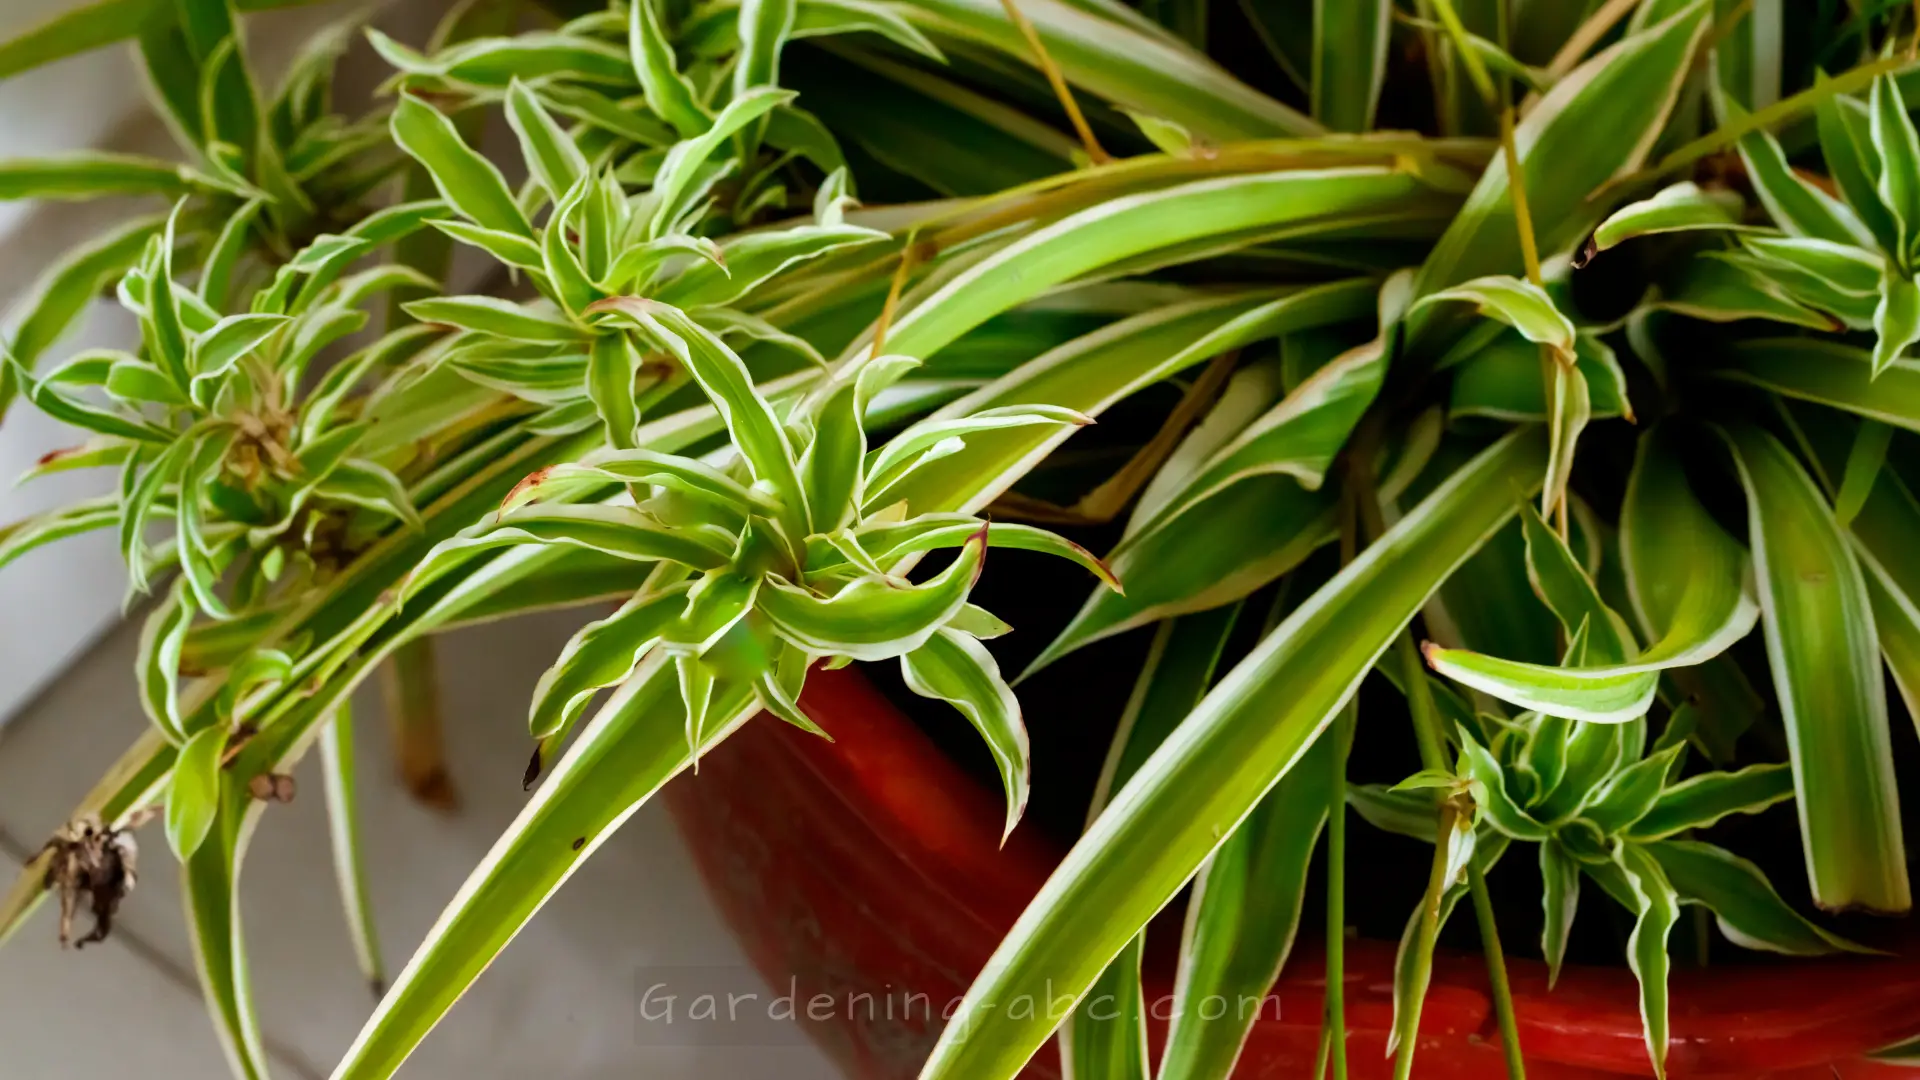
Spider plants, scientifically known as Chlorophytum comosum, are popular houseplants known for their long, arching leaves and spider-like appearance. These plants are easy to care for, making them a favorite among both novice and experienced gardeners.
One of the fascinating aspects of spider plants is their ability to reproduce rapidly through various propagation methods.
In this article, we will explore different techniques for propagating spider plants and provide you with step-by-step instructions to successfully propagate your own.
Table of Contents
What are Spider Plants?
Spider plants are perennial herbaceous plants native to tropical and southern regions of Africa. They are part of the Asparagaceae family and are characterized by their slender, arching leaves that can grow up to 12-24 inches long.
The leaves have a vibrant green color with white stripes running along their length, giving them a striking appearance.
Spider plants are known for their air-purifying qualities and are often chosen as indoor plants to improve the air quality within homes and offices.
Why Propagate Spider Plants?
Propagation is the process of creating new plants from existing ones. There are several reasons why you might want to propagate spider plants:
- Expansion: Spider plants are known for their rapid growth and ability to produce multiple offspring. By propagating them, you can expand your plant collection or share them with friends and family.
- Renewal: Over time, the parent plant may become leggy or lose its vitality. Propagating new spider plants allows you to refresh your collection and ensure you have healthy and vibrant specimens.
- Experimentation: Propagation provides an opportunity to explore different techniques and methods, allowing you to gain hands-on experience and enhance your gardening skills.
How to propagate Spider Plants:
There are 3 main ways you can propagate a spider plant.
- Propagating through offsets.
- Propagating from stem cuttings.
- Propagating by air layering.
Let’s explore each one in detail:
Propagating Spider Plants from Offsets
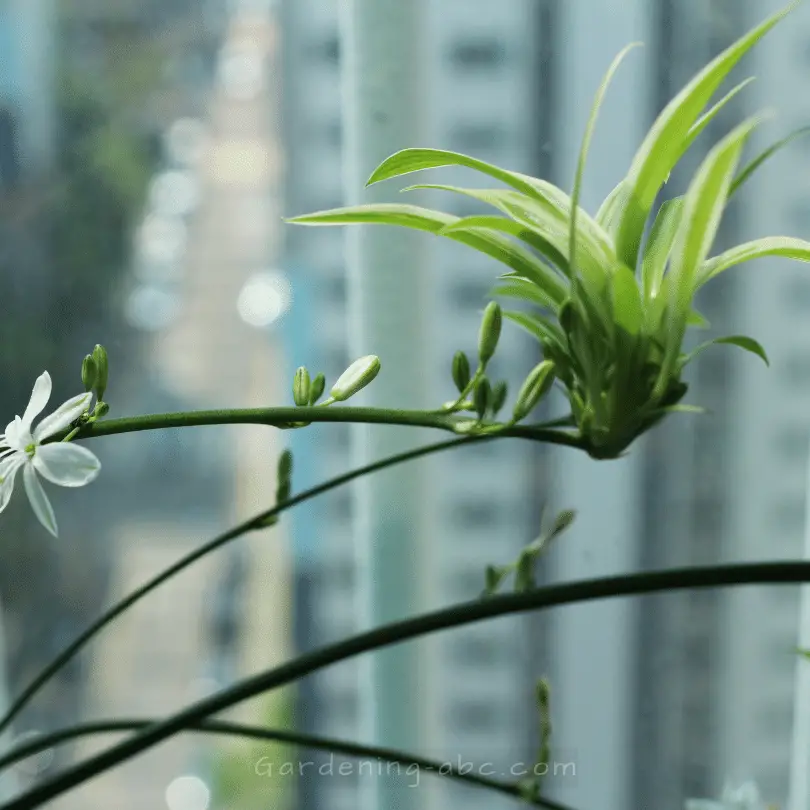
Offsets, also known as plantlets or spiderettes, are miniature versions of the parent plant that grow on long, arching stems. These offsets can be easily separated from the parent plant and potted individually to establish new plants. Follow these steps to propagate spider plants from offsets:
- Identify a healthy offset with a few leaves of its own.
- Gently twist or cut the offset from the parent plant.
- Prepare a small pot with well-draining soil.
- Plant the offset in the pot, burying the base of the leaves but keeping the majority of the plant above the soil.
- Water the offset thoroughly and place it in a bright, indirect light location.
- Keep the soil slightly moist but avoid overwatering. Spider plant offsets are susceptible to rot if the soil is overly saturated.
- After a few weeks, the offset will develop roots and start growing independently. At this stage, you can treat it like a mature spider plant.
Propagating Spider Plants from Stem Cuttings
Stem cuttings are another effective method of propagating spider plants. Follow these steps to propagate spider plants from stem cuttings:
- Select a healthy spider plant and locate a stem that is long and mature, without any flowers or buds.
- Using clean, sharp scissors or pruning shears, cut the stem about 3-5 inches below a node. Nodes are the points on the stem where leaves emerge.
- Remove any leaves from the lower portion of the cutting, leaving a few leaves at the top intact.
- Fill a small pot with well-draining soil and make a small hole using your finger or a pencil.
- Insert the cutting into the hole, ensuring that at least one node is below the soil level.
- Gently press the soil around the cutting to secure it in place.
- Water the cutting thoroughly and place it in a warm location with indirect sunlight.
- Mist the cutting regularly to maintain humidity around the plant.
- Within a few weeks, the cutting will develop roots and start showing new growth.
Propagating Spider Plants By Air Layering
Air layering is a more advanced technique but can yield excellent results. Follow these steps to propagate spider plants using air layering:
1. Identify a healthy and mature spider plant with long trailing stolons.
2. Select a section of the stolon where you want the new plant to form roots. The chosen section should have a few nodes (points where leaves emerge) along its length.
3. With a sharp and clean knife or scissors, make a small upward diagonal cut through the stolon, just below a node. Make another cut a few inches above the first cut, creating a section of the stolon with a length of about 4 to 6 inches.
4. Remove any leaves or side shoots from the section of the stolon that will be in contact with the rooting medium.
5. Prepare a small container with a well-draining rooting medium, such as a mixture of peat moss and perlite or a seed-starting mix. Moisten the rooting medium slightly to make it damp but not overly wet.
6. Wrap the prepared section of the stolon with moist sphagnum moss or a rooting hormone powder to encourage root growth.
7. Gently press the wrapped section of the stolon into the rooting medium, making sure it is secure and in contact with the moist medium.
8. Cover the container with a clear plastic bag or a propagator to create a humid environment that promotes root development.
9. Place the container in a warm and bright location, but avoid direct sunlight as it can overheat the cutting. Maintain a consistently warm temperature around the air layering section.
10. Check the moisture level of the rooting medium regularly and mist it if it starts to dry out. Ensure it remains consistently moist but not waterlogged.
11. After a few weeks to a couple of months, you should start to see roots forming from the section of the stolon. Once the roots are well-developed and filling the container, you can proceed to the next step.
12. Carefully sever the air-layered section from the parent plant, making sure to keep the new roots intact.
13. Plant the rooted section in a separate container with well-draining potting soil. Water it gently and place it in a suitable location with bright, indirect light.
14. Continue to care for the newly propagated spider plant as you would with a mature plant, providing regular watering, indirect sunlight, and occasional fertilization.
Planting and Caring for Spider Plant Cuttings
Regardless of the propagation method you choose, it’s important to provide the appropriate care for the spider plant cuttings to ensure their successful establishment.

Here are some guidelines to follow:
- Watering: Spider plant babies require regular watering to keep the soil slightly moist. Water them when the top inch of the soil feels dry. Avoid overwatering, as it can lead to root rot. Ensure that the pot has drainage holes to allow excess water to escape.
- Light: Spider plants prefer bright, indirect light. Place the baby spider plants in a location with bright, filtered sunlight. Avoid exposing them to direct sunlight, as it can scorch the leaves.
- Temperature: Spider plants thrive in temperatures between 60°F and 75°F (15°C to 24°C). Keep the babies in a room with a consistent temperature within this range.
- Humidity: Spider plants prefer moderate humidity levels. If the air in your home is dry, you can increase humidity by placing a tray filled with water near the plants or by using a humidifier.
- Fertilization: Spider plant babies benefit from occasional fertilization. Use a balanced, water-soluble houseplant fertilizer diluted to half-strength. Apply the fertilizer once every two to four weeks during the growing season (spring and summer). Avoid fertilizing during the winter months when the plant’s growth slows down.
- Pruning: Spider plant babies may produce long, trailing stems known as runners. You can trim these runners if they become too long or if you want to control the plant’s size and shape. Use clean, sharp scissors or pruning shears to make the cuts.
- Potting: As spider plant babies grow, they may outgrow their pots. When this happens, you can repot them into slightly larger pots with well-draining soil. Use a lightweight potting mix and ensure the new pot has drainage holes.
- Pest control: Spider plants are generally resistant to pests, but occasionally they can be affected by common houseplant pests such as spider mites or mealybugs. Inspect the plants regularly and take appropriate measures, such as wiping the leaves with a damp cloth or using insecticidal soap, if you notice any pest infestation.
Common Issues and Troubleshooting
While spider plants are generally easy to propagate, they can encounter a few issues along the way. Here are some common problems you might encounter and how to troubleshoot them:
- Root Rot: Overwatering can lead to root rot in spider plants. Ensure that the soil is well-draining and only water when the top inch of soil feels dry.
- Lack of Rooting: If your cuttings or air layers are not rooting properly, check the humidity levels. Mist the plants regularly or consider using a humidity dome or bag to create a more humid environment.
- Yellowing Leaves: Yellow leaves may indicate overwatering or nutrient deficiencies. Adjust your watering routine and fertilize the plants as needed.
- Pests: Spider mites and mealybugs can occasionally infest spider plants. Monitor your plants regularly and treat any pest infestations promptly using appropriate insecticides or natural remedies.
Remember to observe your plants closely and make adjustments based on their specific needs. With proper care, your propagated spider plants will thrive and beautify your indoor or outdoor spaces.
Conclusion
Propagating spider plants is an enjoyable and rewarding experience for plant enthusiasts. Whether you choose to propagate from offsets, stem cuttings, or air layering, the process allows you to expand your plant collection and share the joy of gardening with others.
By following the outlined steps and providing the right care, you can successfully propagate spider plants and enjoy their lush foliage and air-purifying qualities in your home or garden.
We hope you found this information helpful. Don’t forget to share this article with your fellow plant enthusiasts and inspire them to delve into the world of spider plant propagation.
Stay curious and explore more insightful articles on our website to expand your gardening expertise.
Frequently Asked Questions(FAQs)
Can you propagate a spider plant from a cutting?
Yes, spider plants can be easily propagated from cuttings. The plant produces baby spider plants that can be separated from the mother plant and grown on their own.
Can I propagate spider plants in water?
While spider plants can root in water, it’s recommended to transfer them to the soil for better long-term growth and health.
How can I encourage my spider plant to have babies?
To encourage spider plants to produce babies, provide them with the right growing conditions. They prefer bright to moderate indirect sunlight and warm temperatures. Avoid giving them too much direct light, as it can cause leaf burning. Misting the plant with water and keeping it snug in its pot can also promote baby growth.
Where do you cut baby spider plants?
When taking cuttings of baby spider plants, look for ones that have small nubs, which are the beginnings of roots. Make sure to include at least one of these nubs when removing the baby from the mother plant. You can trim off the stem that the baby emerged from if desired.
How do I propagate a spider plant in water?
To propagate a spider plant in water, start by filling a container with water. Take a spider plant baby and place it in the container, ensuring that the roots are submerged in the water. Keep the container in a spot with bright, indirect light and monitor the root growth. Once the roots have developed, you can transfer the baby to the soil.
What happens if you leave spider plant babies?
If you leave spider plant babies on the mother plant, they will continue to grow and mature. Over time, they may produce their own babies, resulting in a cascading, trailing look. It’s up to personal preference whether to leave the babies on the mother plant or propagate them separately.
How long do spider plant cuttings take to root?
The time it takes for spider plant cuttings to root can vary depending on the conditions. Propagations done in the spring and summer tend to root faster due to warmer temperatures, bright light, and higher humidity. In water, spider plant babies can take several weeks to grow several inches of roots. After transferring them to soil, it may take another few weeks for the water roots to transition to soil roots.
Can I propagate spider plants outdoors?
Yes, spider plants can be propagated outdoors, especially in warm climates. Ensure they are protected from direct sunlight and extreme weather conditions.
Can I propagate spider plants all year round?
Spider plants can be propagated throughout the year, but they generally root more easily during the spring and summer months when temperatures are warmer.
How often should I water my spider plant cuttings?
Spider plant cuttings should be watered when the top inch of soil feels dry. Avoid overwatering to prevent root rot.
Amazon and the Amazon logo are trademarks of Amazon.com, Inc, or its affiliates.

Gardener with 12+ years of hands-on experience growing vegetables and fruits in home gardens. Learned through trial, error, and observation — not textbooks. Shares what actually works (and what doesn’t) in real-world conditions. No fluff, no hype — just practical tips from the soil up.