We use affiliate links to run our site. When you buy through links on our site, we may earn an affiliate commission, without any added cost to you. Learn more
I used to think flies were harmless little creatures just seeking some quality time with my fruit bowl. Little did I know that they’re actually the winged ninjas of annoyance, here to test our patience and challenge our sanity.
If flies are also driving you batty and buzzing around your home like they’re on a mission to annoy you, I have got the perfect solution for you.
Say goodbye to those store-bought fly traps that seem more complicated than assembling a spaceship. We’ve got a simple, fun, and effective homemade fly trap that’ll have those flies fleeing in terror!
Now, before you dismiss the idea and start wondering if you need an engineering degree to build this trap, hold on. We promise you don’t need to be a specialist to pull this off. It’s a DIY project that even the clumsiest of us can handle (yes, I’m talking about myself).
I’m not much of a DIY guru myself, but when I heard about these simple fly traps, I figured, “Why not give it a shot?” I mean, how hard could it be?
As it turns out, not hard at all! With a few supplies and a bit of determination, I managed to whip up my very own fly trap in no time. If I can do it, trust me, so can you!
So, why opt for a homemade fly trap, you ask? Well, for starters, you get to unleash your inner MacGyver and repurpose everyday items that would otherwise end up in the trash.
Plus, store-bought traps can be a real budget-buster, and who needs that when you’ve got a million other things to spend on? With these DIY homemade fly traps, you’ll have a fly-free zone without breaking the bank.
Table of Contents
Simple DIY Homemade Fly Traps
1. The Bottle Fly Trap:
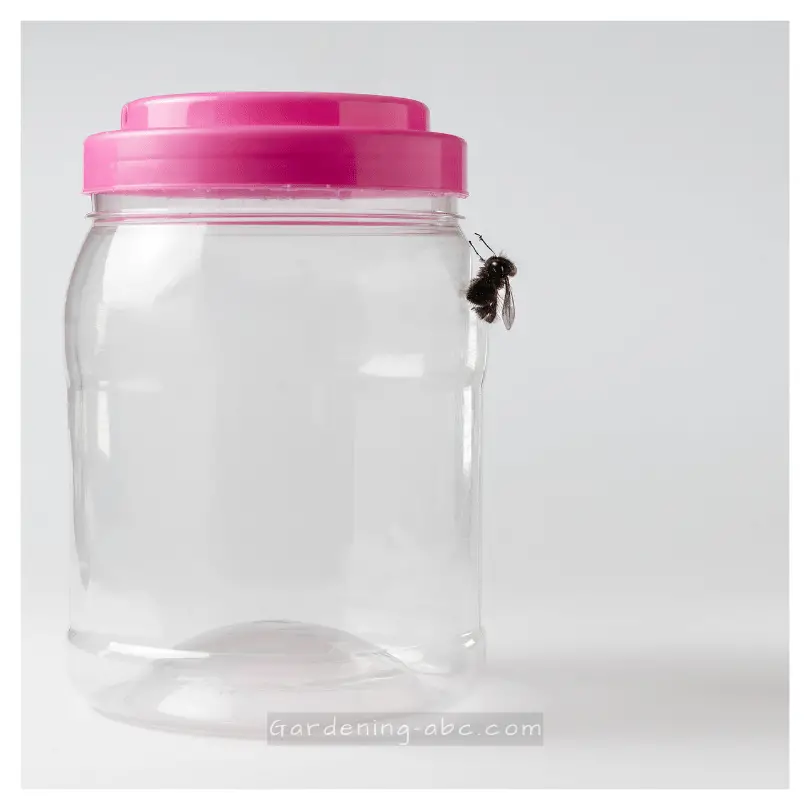
Alright, let’s dive into the bottle method for making a super-effective homemade fly trap! You won’t believe how simple and resourceful this one is. We’re talking about using those plastic bottles lying around and turning them into fly-catching machines.
Turning Trash into an Effective Fly Trap
You know those plastic bottles you use every day? Don’t toss them out just yet! Instead, let’s give them a new purpose by converting them into our very own homemade fly trap. It’s a win-win situation, really. We get to keep the environment clean and free of fly trouble.
The best part? Using plastic bottles has some fantastic advantages for this fly trap method. They’re easy to find, lightweight, and durable. Plus, you’re repurposing something that might have ended up in a landfill otherwise. Go eco-friendly fly control!
How To Build A Bottle Fly Trap:
Now, let’s get down to business and build this awesome fly trap step by step. It’s easier than you might think, and the results are worth the effort.
Step 1: Preparing the Bottle
First things first, grab that empty soda bottle (water bottles work too) and give it a good rinse inside and out. We don’t want any soda residues attracting flies for the wrong reasons.
Step 2: Cutting and Reassembling
Now turn the bottle into a reverse funnel. Using a pair of scissors, carefully poke a hole near the top funnel area and cut around the bottle until you have two pieces (top and bottom).
Next, flip the top part over and insert it back into the bottom half. You’ve just created a funnel that’s going to lead those flies straight into the trap!
Step 3: Choosing the Right Bait
Flies can’t resist the temptation of something sweet, so let’s make the bait irresistible. A syrupy mix works wonders, and you can also add some overripe or rotten fruit for that extra allure.
Step 4: Strategic Placement
Now that your homemade fly trap is ready, it’s time to put it to work. Choose strategic locations where flies tend to hang out and let the trap do its magic. A sunny spot can work wonders in attracting those flying pests.
Top 7 Effective Indoor Ant Killers of 2023 That Are Also Safe for Your Pets
2. Tin Can Fly Trap
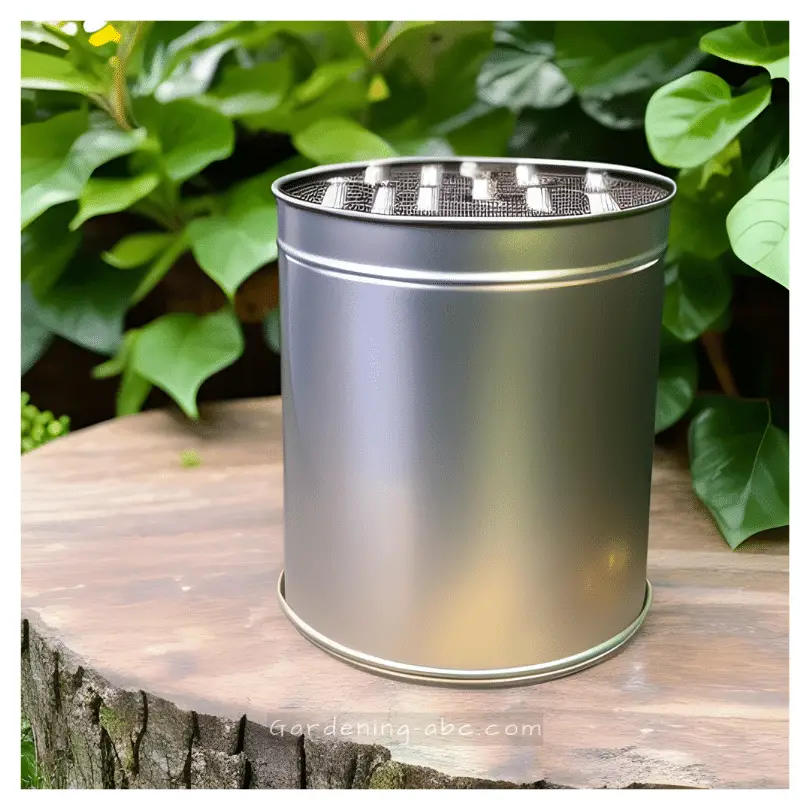
Alright, let’s get into the nitty-gritty of the tin can fly trap. Who knew that an ordinary tin can turn into a fly-fighting machine? This method is simple yet effective, and we’re here to guide you through the process.
How to Build Tin Cans for Fly Control
Let’s start by repurposing those standard tin cans and turning them into efficient fly traps. You’ll be surprised by how well this method works, especially in specific areas where flies tend to congregate.
The beauty of the tin can fly trap lies in its versatility. You can strategically place these traps in specific areas around your property where flies are particularly bothersome. Plus, they’re discreet and blend in well, keeping your garden fly-free without drawing too much attention.
Apply Duct Tape to the Tin Can
Now comes the fun part – preparing the sticky surface that will catch those pesky flies. Grab your duct tape and cut out strips that are long enough to wrap around the tin can. Just be careful not to touch the sticky ends of the tape while doing this; we want all that stickiness on the can!
Wrap the tape around the can, pressing it firmly against the surface with your hands. Gently rub the tape to transfer the sticky material onto the metal. You’ll want to make sure it sticks well, so those flies don’t have a chance of escaping.
Install A Light Source
Fly problems don’t stop at night, and that’s why we’re adding a light source to this trap. Attach a small flashlight (UV lights work wonders) to the underside of the can lid. Position it in a way that the lid covers the base of the flashlight.
Before setting up the trap, double-check that the flashlight has fresh batteries and is in good working condition. Proper battery maintenance ensures your tin can fly trap remains operational throughout the night.
Placing the Tin Can Fly Trap
Strategic placement is key to a successful fly trap. Choose locations where flies tend to be a nuisance and set up your tin can traps there. With the light attracting those flying critters, you’ll be catching them in no time.
Caring for and Maintaining the Trap for Long-Term Use
To make the most of your tin can fly trap, remember to check it regularly. Remove any captured flies and ensure the trap remains clean and functional. With a little care, you can keep this trap working like a charm for the long haul.
3. Homemade Fly Paper

Flies don’t stand a chance against the classic fly paper, reimagined and brought back to life with this homemade version. Get ready to bid farewell to those bothersome pests with this effective and easy-to-make fly trap.
Remember those sticky strips of fly paper that your grandparents used? Well, we’re bringing back this age-old method with a homemade twist. Flypaper has proven to be a reliable fly-catching solution, and we’re here to show you why it’s worth reimagining.
Homemade fly paper is not only cost-effective but also environmentally friendly. By creating your own fly paper, you reduce waste and avoid using harmful chemicals present in some store-bought fly traps. Plus, it’s a straightforward and fun DIY project to tackle.
How to Create the Sticky Strips
To create the perfect fly paper, you’ll need the right materials.
Choosing the Right Materials for the Fly Paper
For this homemade fly paper, you’ll need paper grocery bags (the taller, the better). The paper is essential as it holds the sticky mixture well, ensuring the flies get caught without a chance to escape.
Making the Strips:
- Cut the paper grocery bag into long strips, measuring approximately 1 by 6 inches. Make several of these strips and lay them flat on a table.
- Using a pair of scissors, create holes about one inch from the end of each strip. Thread a string through each hole, ensuring that the strings are at least six inches long.
Preparing the Bait
The success of your homemade fly paper hinges on the right bait. By creating a sugar mixture that flies find irresistible, you’ll attract and trap them with ease.
Creating the Sugar Mixture for Maximum Effectiveness
In a pan on medium-high heat, mix equal parts of sugar, water, and honey. Stir the ingredients until they are fully combined. This sugary syrup will serve as the perfect bait to lure flies to their sticky demise.
Tips for Ensuring the Right Consistency
Getting the consistency of the sugar mixture just right is crucial. If it’s too thin, the flies might not stick effectively to the paper. Conversely, if it’s too thick, they might avoid it altogether. A little trial and error may be necessary, but you’ll find the sweet spot in no time.
Hanging and Using the FlyPaper
With your homemade fly paper ready, it’s time to put it to use. Properly hanging the strips in problem areas will ensure optimal fly-catching results.
Properly Hanging the Fly Paper in Problem Areas
Choose locations where flies are most bothersome, such as near doors or windows. Hang the strips by wrapping the string around a nail or tack. Clump multiple strips together in areas with a high concentration of flies for better trapping efficiency.
12 Natural Pest Control Methods
Final Thoughts:
Now that you’ve got your homemade fly trap ready to roll, it’s time to put it to the test. Find those pesky flies’ favorite hangout spots and unleash your trap with confidence. And remember, it’s not just about getting rid of them; it’s about having a little fun along the way!
Frequently Asked Questions (FAQs)
Can I Reuse the Fly Paper Strips?
Unfortunately, the flypaper strips are not reusable. Once they have caught a significant number of flies or become too saturated with the sticky mixture, it’s best to replace them with fresh strips.
What If the Paper Gets Wet, Will It Still Work?
The wet paper might lose its stickiness, making it less effective in trapping flies. To ensure optimal performance, avoid placing the fly paper in areas where it could get wet or damp.
How Long Does the Homemade Fly Paper Remain Effective?
The effectiveness of the homemade fly paper depends on several factors, such as the number of flies in the area and the amount of bait applied. Generally, you might need to replace the strips every few days or whenever they become filled with flies or lose their stickiness. Regularly check and maintain the flypaper to keep it working efficiently.
What type of flashlight is best for this trap?
For optimal results, use a small flashlight with UV light. Flies are attracted to UV light, making it an excellent choice to lure them into the trap.
Can I use a different adhesive instead of duct tape?
While duct tape works best, you can experiment with other strong adhesives. Just ensure they have the stickiness needed to catch those flying pests.
How often should I check and clean the tin can trap?
Regular checks are essential to maintain the trap’s effectiveness. Clean it when needed, remove captured flies, and ensure the flashlight has fresh batteries. A well-maintained trap means fewer flies around your homestead.
Can I use glass bottles instead of plastic bottles?
Absolutely! While we recommend plastic bottles for their convenience, you can totally go with glass bottles if that’s what you have on hand. The funnel concept works just as well.
How often should I replace the bait in the trap?
It’s essential to keep the bait fresh to maintain the trap’s effectiveness. We suggest replacing the bait every few days or when you notice it’s getting gunky. Fresh bait means more flies caught!
Sources:
- https://www.goodhousekeeping.com/home/craft-ideas/a32700598/best-homemade-fly-trap/
- https://www.thespruce.com/how-to-make-a-fly-trap-1389066
- https://www.reformationacres.com/homemade-fly-trap/
Amazon and the Amazon logo are trademarks of Amazon.com, Inc, or its affiliates.

Gardener with 12+ years of hands-on experience growing vegetables and fruits in home gardens. Learned through trial, error, and observation — not textbooks. Shares what actually works (and what doesn’t) in real-world conditions. No fluff, no hype — just practical tips from the soil up.