We use affiliate links to run our site. When you buy through links on our site, we may earn an affiliate commission, without any added cost to you. Learn more
Let’s be honest: your first thought about starting a garden probably involves picturesque rows of ripe tomatoes and zero effort. Then, reality hits you like a rogue squash vine—weeds, pests, and confusing bags of chemicals. Sound familiar?
You’re not alone. Many beginner gardeners fail not because they lack a green thumb, but because they try to fight nature instead of working with it.
That’s where Organic Gardening steps in.
It’s not just about avoiding synthetic pesticides and fertilizers; it’s a smart, sustainable philosophy focused on building a self-sustaining ecosystem right in your backyard. Think of your soil as a bustling, microscopic city—and you’re the friendly, benevolent mayor.
This comprehensive guide is your roadmap. We’ll skip the overly complicated Latin names and focus on the actionable steps, from choosing the perfect sunny spot to enjoying your very first harvest. By the end, you won’t just have a garden; you’ll have an organic, thriving, delicious habitat.
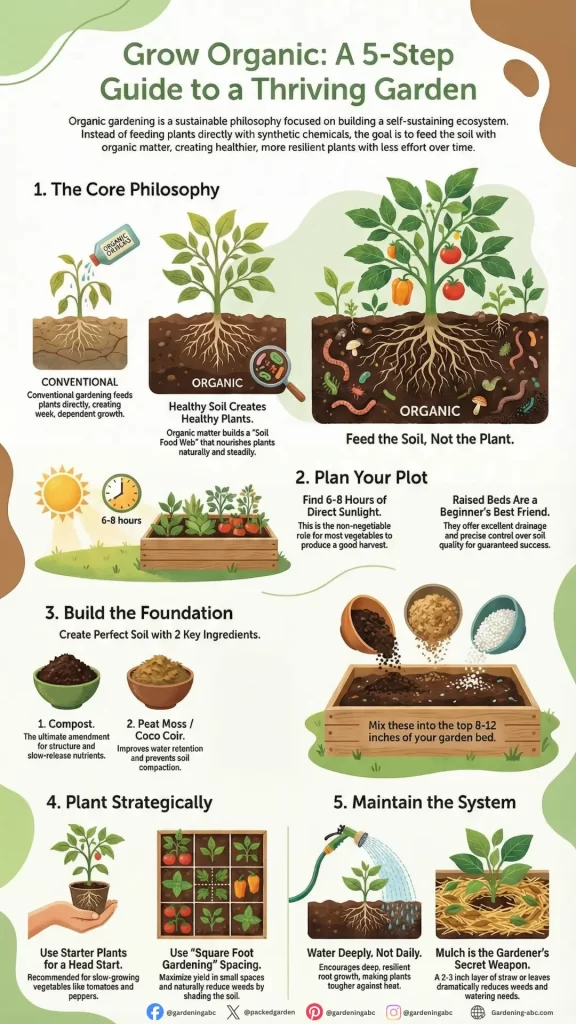
Step 1: The Philosophy — Why Going Organic is Simply Smarter
You might ask, “Why bother with organic? Isn’t it just harder?”
The logical answer is a resounding no. The goal of organic gardening is simple: Healthy soil creates healthy plants.
Think it for a moment, a synthetic fertilizers like high-fructose may offer a quick, potent burst of nutrients, forcing rapid growth. But they neglect the long-term health of the soil microbes, leading to plants that are weak, dependent, and more susceptible to pests and diseases.

🧠 The Logic of the Soil Food Web
Here’s the breakdown:
- Conventional: You feed the plant.
- Organic: You feed the soil.
The soil is a teeming world of bacteria, fungi, and earthworms—the “Soil Food Web.” When you add organic matter (like compost), these tiny workers break it down slowly, releasing nutrients to your plants at a natural, steady pace.
This stability leads to robust root systems, better water retention, and plants that are inherently tougher. This is why organic is the smarter, more sustainable, and ultimately less stressful way to cultivate food.
Trust Check: Numerous studies in soil science confirm that diverse soil microbial communities are directly correlated with improved crop resilience (tolerance to stress) and efficient nutrient cycling, which is the core principle of organic methods. (source 1, 2)
Step 2: Site Selection — Finding Your Garden’s Prime Real Estate
Before you buy a single seed, you need to conduct a bit of real estate scouting. Your goal here is to give your organic vegetable garden the best chance to thrive.
☀️ Sun Mapping: The Non-Negotiable Rule
Vegetables are sun-worshippers. They need at least six to eight hours of direct sunlight every day to produce a good harvest.
- Spend a day observing your yard.
- Note exactly where the sun hits in the morning, noon, and evening.
- A shadow from a nearby tree or fence post that seems small in April can block crucial afternoon light in July.
Pro-Tip: If you can’t get six hours of sun, focus on plants that tolerate shade, like leafy greens (spinach, lettuce) and root vegetables. Don’t waste energy trying to grow sun-loving tomatoes!
💧 Water and Practicality
Gardening is a chore if it’s inconvenient. We want to avoid “out of sight, out of mind.”
- Water Source: Is the garden plot near an outdoor faucet? Dragging a 100-foot hose across the lawn gets old fast.
- Accessibility: Choose a spot you walk past often. This makes weeding, checking for pests, and harvesting a simple, quick task rather than a dedicated afternoon expedition.
Step 3: Layout Options — Choosing the Right Foundation
You’ve found the perfect sunny spot. Now, how are you going to build it? Your main structural choice will be between building up (raised beds) or digging in (in-ground).
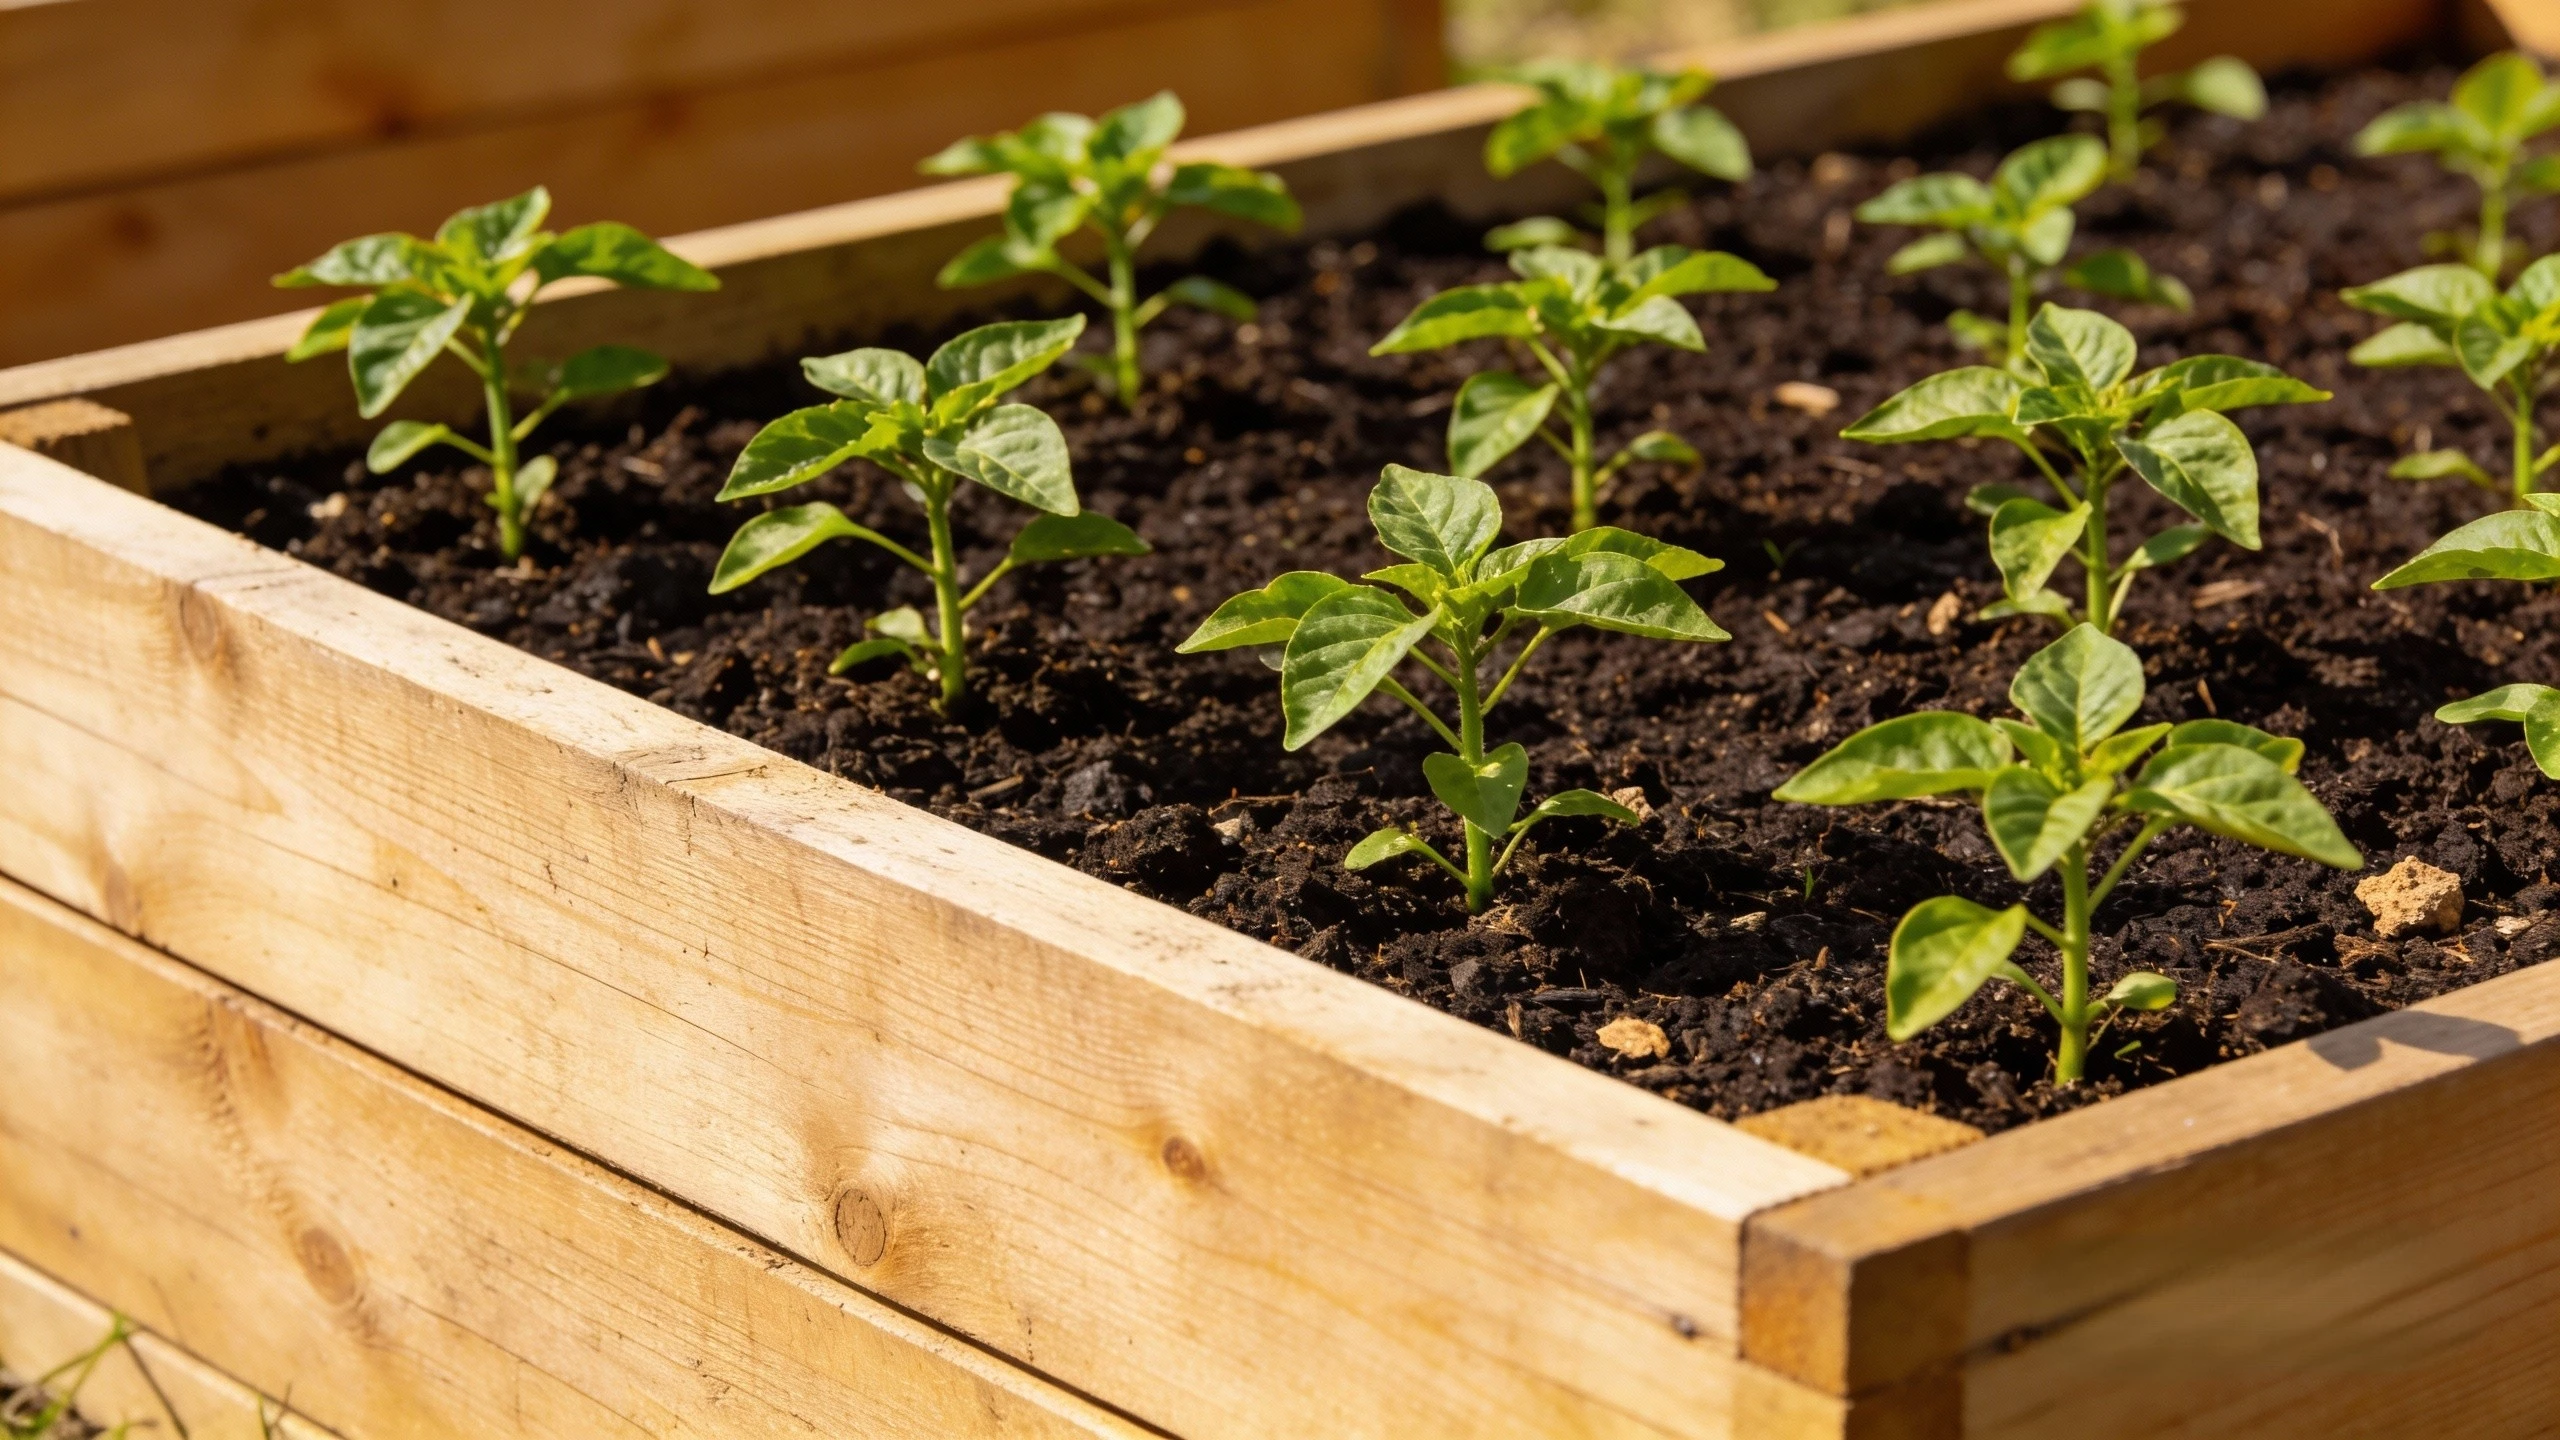
🧱 Raised Garden Beds: The Beginner’s Best Friend
Raised beds are contained structures (usually wood or stone) filled with imported soil. They are wildly popular with those starting their organic garden for beginners.
- Pros: Excellent drainage, warmer soil earlier in the spring, precise control over soil quality, and much easier on your back!
- Cons: Higher initial cost to buy materials and soil. They can also dry out faster in hot weather.
🏞️ In-Ground Gardens: The Traditional Approach
This involves cultivating the existing soil in your yard.
- Pros: Cheapest option to start, best for drought tolerance, and allows for large-scale planting.
- Cons: If your native soil is poor (heavy clay or pure sand), you face years of hard work to amend it organically. Weeds are also a much bigger, more relentless challenge.
The Smart Choice: Unless you’re dealing with fantastic existing soil, a raised bed is the easiest way to guarantee success in your first year.
- Want a detailed comparison to help you decide on structure? We break down the costs and benefits of [Raised Beds vs. In-Ground Gardens]in a dedicated guide.
Step 4: Soil Preparation — Building the Organic Engine
You’ve chosen your spot and your structure. Excellent. Now for the most important step: preparing the soil. In the organic world, soil is not just dirt; it’s the foundation, the bank account, and the lifeblood of your garden.
🧪 The Squeeze Test: Knowing Your Dirt
Before amending, test your native soil (if using in-ground or filling raised beds with local topsoil). Get down and dirty!
- Sandy Soil: Falls apart easily. Drains too fast, losing nutrients.
- Clay Soil: Forms a tight, sticky ball. Drains poorly, suffocating roots.
- Loam Soil: Forms a crumbly ball that breaks apart easily when pressed. This is the goal.
If your soil is poor, don’t worry. We fix it with organic matter.
4-in-1 Soil Moisture Meter for Gardening, Farming and Outdoor Plants
💡 The Three Pillars of Soil Health
To create perfect loam, you need three key organic ingredients:
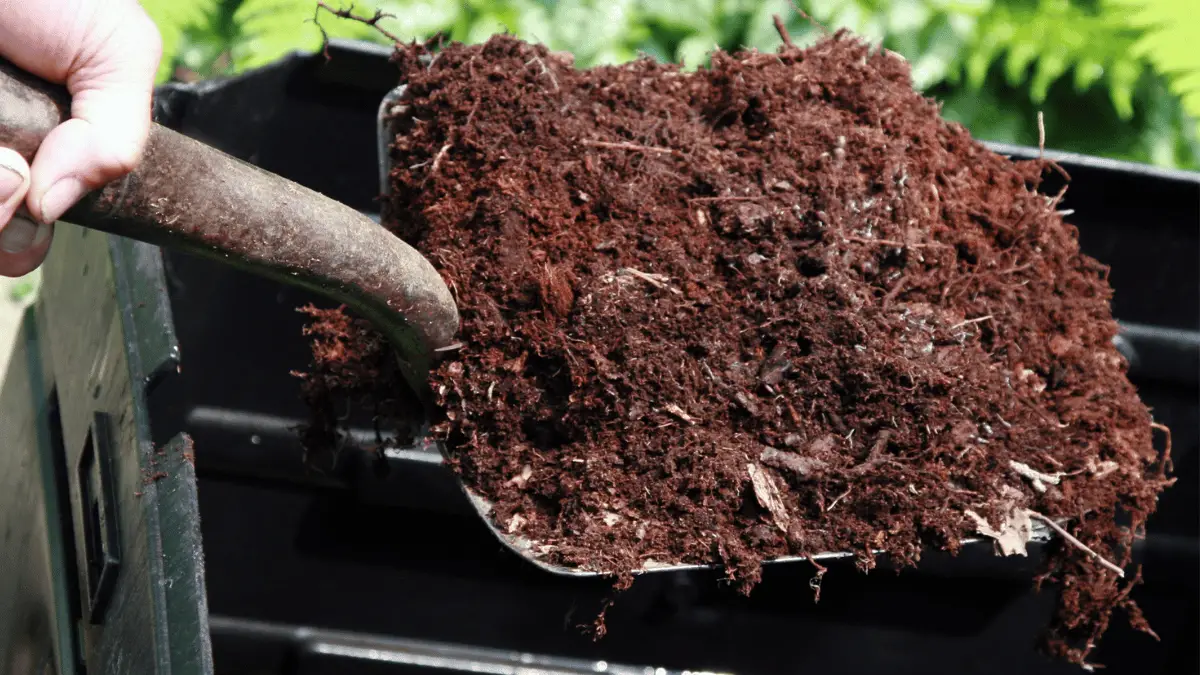
- Compost: The ultimate soil amendment. It improves structure in clay and water retention in sand. It’s a slow-release natural fertilizer.
- Peat Moss or Coco Coir: Improves aeration and water-holding capacity, preventing compaction.
- Vermiculite/Perlite: Adds tiny pockets of air, helping roots breathe.
Mix these amendments liberally into the top 8–12 inches of your garden area. This initial investment pays dividends for years to come.
Trust Check: The USDA Natural Resources Conservation Service strongly recommends using compost and organic matter additions to improve soil aggregation, water infiltration, and overall health in both home and commercial settings.
- Ready to get your hands dirty? Learn the specific ratios and techniques in our deep-dive: [Dirt Cheap: How to Test and Amend Your Soil Naturally].
- For the ultimate long-term health, you need to make your own food for the soil. Start here: [Composting 101: Turning Kitchen Scraps into Black Gold].
Step 5: Choosing and Planting Your Garden
With rich, dark soil ready, the fun begins! But even the planting phase needs a strategy to maximize yield and minimize stress.
🗓️ Hardiness Zones and Timing
Knowing what to plant is only half the battle; knowing when to plant it is crucial.
- Every region has a Hardiness Zone, which tells you the average last and first frost dates. Planting frost-sensitive vegetables too early is a guaranteed failure.
- Cool-Season Crops (peas, lettuce, broccoli) thrive in spring and fall.
- Warm-Season Crops (tomatoes, peppers, basil) need consistent heat and should only be planted after the danger of frost is absolutely gone.
- Don’t guess! Use our detailed schedule to plan your season: [The Planting Calendar: What Vegetables to Plant in Spring vs. Fall].
🌱 Seeds vs. Transplants
- Transplants (Starter Plants): More expensive, but they offer instant gratification and a head start. Recommended for slow-growing vegetables like tomatoes and peppers.
- Direct Seeding: Cheaper and creates stronger root systems. Recommended for quick-growing crops like carrots, radishes, beans, and corn.
🔲 Smart Spacing and Interplanting
Don’t plant your rows exactly how the seed packet says. Get strategic:
- Square Foot Gardening: Use intensive spacing (e.g., 4 lettuce plants per square foot) rather than long, traditional rows. This maximizes yield in small spaces and shades the soil, keeping weeds down.
- Interplanting: Plant quick-growing crops (radishes) right next to slow-growing crops (cabbage). The radishes will be harvested before the cabbage needs the space, essentially giving you two harvests from one spot.
Step 6: Organic Maintenance — The Daily Routine
The initial setup is the hardest part. Maintenance is the commitment that ensures success. Your weekly routine will focus on three areas: water, weeds, and pests.
🚿 Watering: Quality Over Quantity
Deep, infrequent watering is the golden rule.
- Water thoroughly, allowing the moisture to sink deep into the soil. This encourages deep root growth, making your plants more resilient to heat.
- Avoid shallow, daily sprinkles. This encourages roots to stay near the surface, where they dry out easily.
- Water the soil, not the leaves! Wet foliage invites fungal diseases.
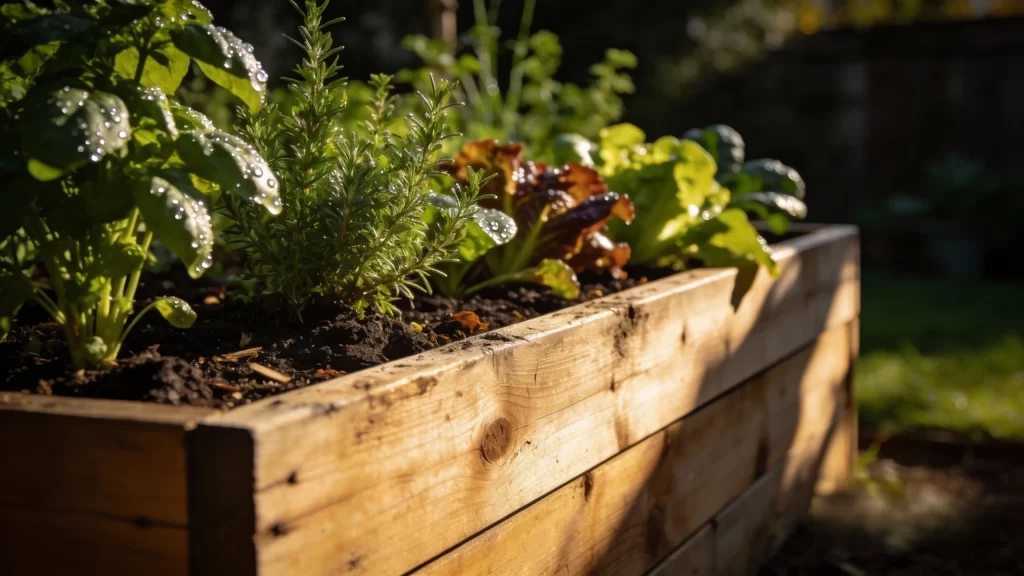
🧤 Mulching: The Gardener’s Secret Weapon
Weeding is the worst part of gardening. Mulch is the solution.
- After planting, apply a 2–3 inch layer of organic mulch (straw, shredded leaves, or wood chips) around your plants.
- Why it works: It blocks the sun from reaching weed seeds, dramatically cutting down on weeding time. It also keeps the soil cool and moist, reducing your water bill.
🐞 Organic Pest Management: Be an Observer
In an organic garden, we manage pests; we don’t eradicate them. Eradication disrupts the ecosystem.
- Observe: Walk your garden daily. Look under leaves for eggs or small groupings of aphids.
- Identify: What is the pest? Slugs, hornworms, or beetles? Identification dictates the response.
- Act Locally: Often, the best fix is simply hand-picking the pest or blasting aphids off with a sharp jet of water. Use organic sprays (like Neem oil) only as a last resort.
- If your plants are under attack, stop guessing and consult our guide: [Natural Pest Control: How to Fight Aphids, Slugs, and Beetles].
Step 7: Harvesting & Closing the Cycle
Congratulations! You’ve reached the delicious payoff.
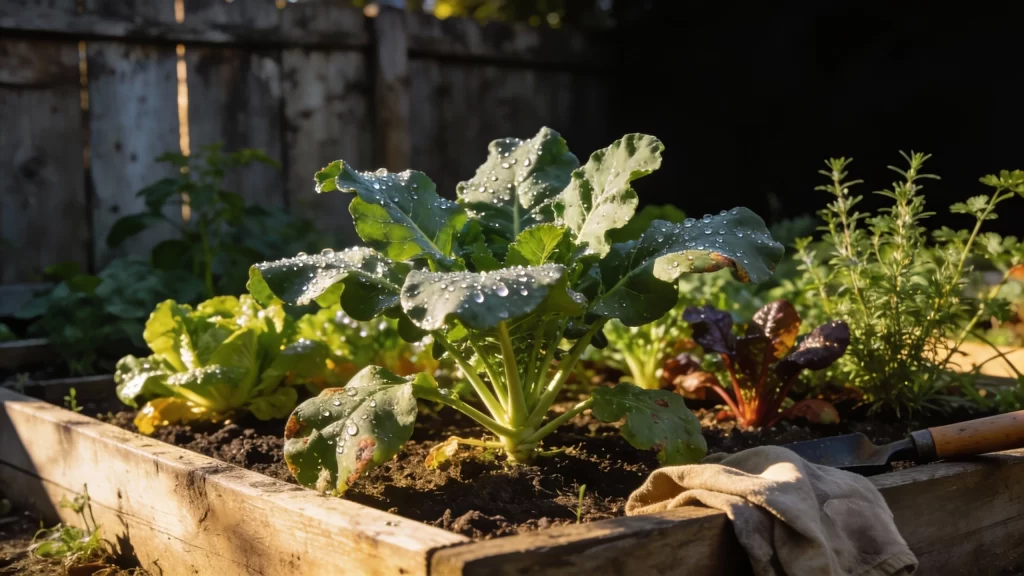
🍽️ When to Pick: Don’t Wait Too Long
- Taste: The best way to know if a vegetable is ready is to taste it. A tomato should smell and feel ripe.
- Size: Pick beans, cucumbers, and squash when they are small and tender. Leaving them on the vine too long signals the plant to stop producing new fruit.
- Continuous Harvest: Picking regularly encourages the plant to produce more. The more you harvest lettuce, the more lettuce you get!
🔄 Completing the Loop
Once a plant is done (e.g., your tomato stops producing in the fall), don’t throw it out.
- Chop the old plants and either add them to your compost pile or “chop and drop” them directly into the garden bed.
- This returns the nutrients to the soil, improving the organic matter content for the following year. You are closing the loop—the final step in creating a truly sustainable, low-maintenance organic vegetable garden.
Frequently Asked Questions (FAQ)
Q: How much time does an organic garden actually require?
A: A small, well-mulched 4×8 foot raised bed requires about 2-3 hours per week of focused attention. Most of that time will be harvesting and light weeding. The initial setup requires the most time.
Q: Is organic gardening more expensive?
A: The initial cost of sourcing quality amendments and building raised beds can be higher. However, you save money long-term by not needing to buy fertilizers, pesticides, and expensive water. You’re building an asset, not incurring a recurring expense.
The Next Step: Building Your Arsenal
You have the knowledge to succeed. Now it’s time for the right gear. A great carpenter doesn’t use dull tools, and a great gardener shouldn’t either.Ready to gear up? We break down the necessary equipment and exactly what you can skip in our affiliate guide: [The Organic Gardener’s Arsenal: 10 Essential Tools You Actually Need].
Amazon and the Amazon logo are trademarks of Amazon.com, Inc, or its affiliates.

Gardener with 12+ years of hands-on experience growing vegetables and fruits in home gardens. Learned through trial, error, and observation — not textbooks. Shares what actually works (and what doesn’t) in real-world conditions. No fluff, no hype — just practical tips from the soil up.